Table of contents
This is the blog of Day 31 of the #90DaysofDevOps challenge in which we are learning about how to launch the K8s cluster that successfully runs the nginx web server, and how to create pods. Before launching the first K8s cluster let's discuss the first :
What is minikube?
To run Kubernetes in a cloud provider we need 3 instances (1 is the master node and 2 are the working nodes) but in this, we need to bootstrap the Kubeadm cluster which was like of Production setup. We will set up and discuss this in the upcoming blog. Still, if we want to run the Kubernetes K8s cluster in the local machine then we had to install the minikube in the local machine that creates the Virtual Machine in the machine, and by this, we can deploy any server in the node. In minikube, it can easily switch to any other container technology (rkt, docker, etc.)
Let's install minikube on our local machine. To install minikube windows you can go with the (https://minikube.sigs.k8s.io/docs/start/) minikube documentation. You can download the.exe, windows package manager, or with the help of Chocolatey.
I am installing minikube with the help of Chocolatey. (It is the installer for software on Windows Environment.)
STEPS:
1) Install chocolatey if you have a Windows system otherwise follow the official documentation K8s of minikube installation.
Set-ExecutionPolicy Bypass -Scope Process
Set-ExecutionPolicy Bypass -Scope Process -Force; [System.Net.ServicePointManager]::SecurityProtocol = [System.Net.ServicePointManager]::SecurityProtocol -bor 3072; iex ((New-Object System.Net.WebClient).DownloadString('https://community.chocolatey.org/install.ps1'))

I had already installed Chocolatey in my system.
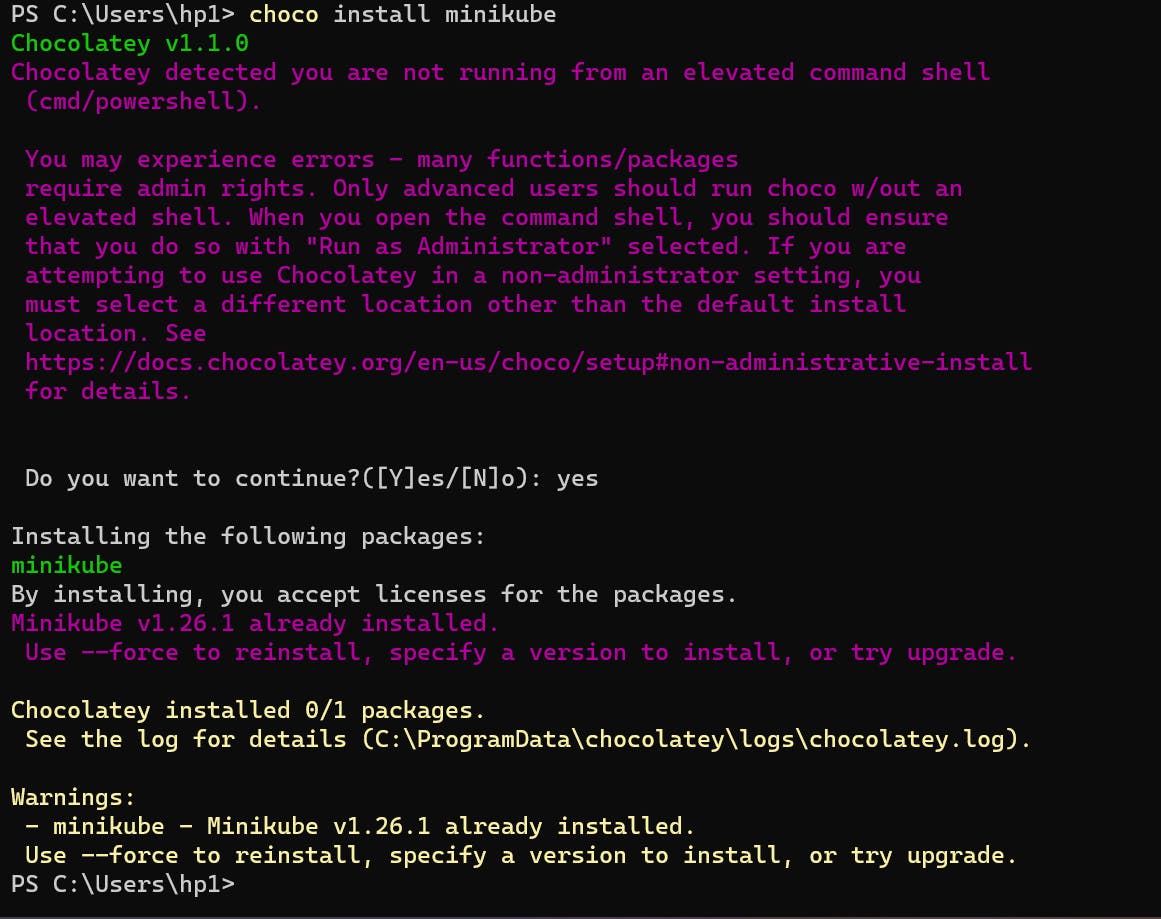
2) After this execute choco install minikube

In my system minikube is already installed.
3) Now, start the minikube by executing minikube start --no-vtx-check . No VTX Check flag is used for those who have not enabled the Virtualisation in the BIOS settings of your laptop.

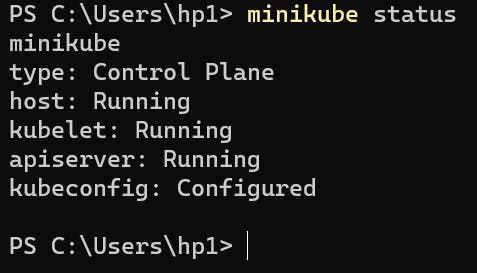
Now minikube has started and your Kubernetes Cluster has been up and running by running the command minikube status.

Now we have to create the container like we started in Docker but in Kubernetes, it was slightly different from Docker.
What is Pod?
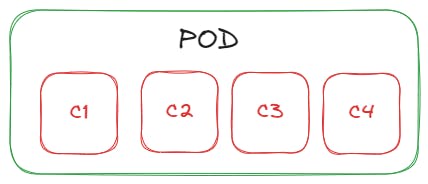
In Kubernetes, the Pod was created and inside the Pod, the container is running. The container is isolated inside the pod and a pod can have multiple containers running in it. But according to the best practice, always have a single container in a single Pod. If any downtime occurs, then a single Pod with a single running container goes down only. The pod is the minimal unit which means "smallest deployable thing" in the Kubernetes cluster.

where C1, C2, C3, and C4 mean having multiple containers inside the single Pod.
There are two types of Pods:
1) Single Container Pod (Having a single container running in a Pod)
2) Multi-Container Pod (Having multiple containers running inside a Pod like multiple microservices)
For a better understanding of the Pod concept let's do some practicals where we create our first pod on Kubernetes through minikube.
In Kubernetes we can create a Pod from two types:
1) Imperative Command
2) Declarative Syntax which means we'll create a yaml file.
Imperative Command
To run nginx Pod, execute kubectl run <Podname> --image=<imagename>
$ kubectl run nginx --image=nginx


To check whether Pods are running or not execute kubectl get pods
Lemme explain in brief what happens when you run the command of creation of nginx Pod. When a user runs the kubectl run command it goes to the API server and it will pass through 3 checks (Authentication, Authorization, and Admission) that a user is authenticated to access the Kubernetes cluster if it is properly authenticated, and authorized to perform some tasks then with the admission it has the policies that have been performed to validate the image of nginx that it is an official image or coming from DockerHub only then goes to etcd and save the state. Now Scheduler which is the most intelligent component of the K8s Cluster which will tell the API server on which best-fit node the Pod has to be scheduled and updates the state in etcd. Now, the API server goes to kubelet on which node the Pod has to run, kubelet goes to CRI(Container Runtime Interface) then attached the CNI (Container Network Interface) network policies and updates the iptables through kube-proxy. AND the pod has started running.
This is the whole thing that happens behind when the Pod has to run.
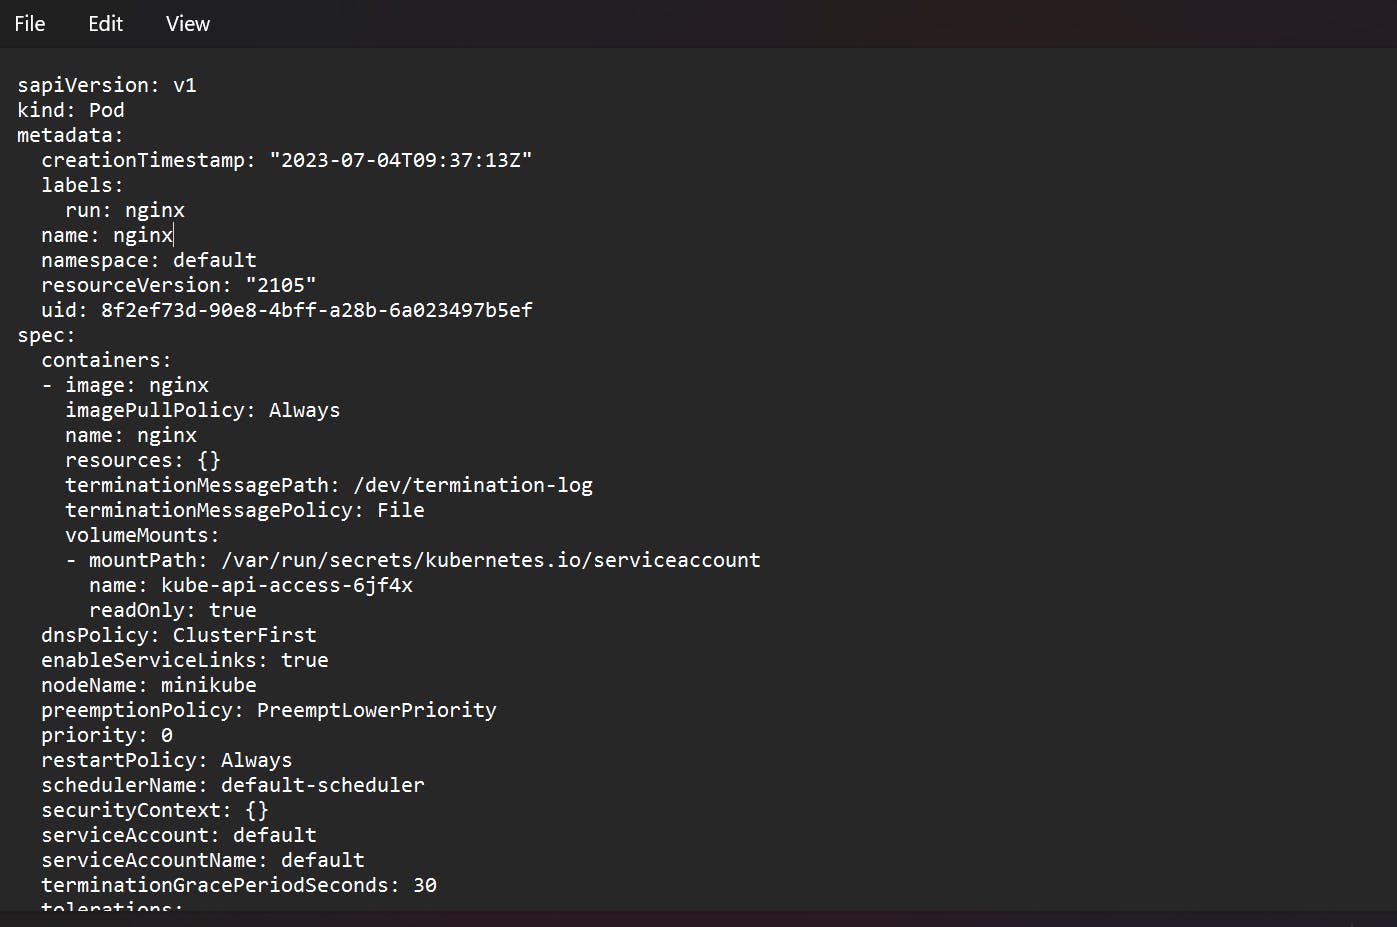
We can see the manifest file of a running pod by executing kubectl edit pod nginx

So, that's it for today's Day 31 task of the #90DaysofDevOps challenge. In the next blog, we"ll be creating the deployments where one of the components of the control plane is been used.
STAY TUNED FOR THE NEXT BLOG !!
Follow for more upcoming Linux and DevOps tools blogs !!
You can connect with me on Twitter (amitmau07).
THANK YOU :)