Day 23: Jenkin Freestyle Project

DevOps Enthusiast, Learning Linux
This is the Day 23 of the #90DaysofDevOps challenge in which we"ll discuss :
What is CI/CD?
What is Build Job?
What is Freestyle Project?
Creating Two tasks that will take run the docker commands to build the image, and run the container in Jenkins.
What is CI/CD?
CI (Continous Integration): Let's understand this with a scenario.
Suppose some developers are working on the code and they pushed it to the Version Control System through Git on GitHub. After some changes to the code, developers sent the code to the testers for finding errors and bugs which will take a lot of time and this will increase the time in deploying the application. So, to reduce the time and catch out the errors in the pre-development phase we'll automate the whole process and that's the CI (Continous Integration).
In short, to automate the process the CI pipeline will be built that will run the pipeline whenever the code will commit, pushed or any changes happen. It will automatically run the code, build the artifacts, and tests the code using a tool such as SonarQube which will reduce human efforts and catch out the errors in the pre-development phase.
CD (Continuous Delivery): This happens after CI (Continuous Integration), which will make ensured before deploying the application to the production server. Before deploying the application on the production server, it'll run the integration test on the server with the CI pipeline which will make sure that the code is error-free and the application is running.
What is Build Job?
Jenkins is a tool that automates all sorts of tasks. To do this we need to create a Job first that will contain the configurations of your job, and scripts that will build, and test the code. So, to run all these things we will build the job that will automate all the configurations of the code.
What is Freestyle Project?
Freestyle Project is the Item in Jenkins that will build the job with a lot of configurations by adding a GitHub repository, and writing build steps to build and test the code.
Now let's do some tasks to understand Freestyle Project properly.
Tasks 1 -
NOTE- Don't install Jenkins with the help of Docker otherwise, it'll throw an error while executing docker commands because, in the Jenkins container, we can't launch another container. So install Jenkins with the help of proper documentation. After installing Jenkins, with the help of Dockerfile first execute the code (install the docker to build the Dockerfile and to run the container) to verify whether the code is properly working or not. After checking the code delete the container and image too otherwise while running the build in Jenkins it'll show the error.
Create an agent for your app. ( which you deployed from docker in the earlier task)
Create a new Jenkins freestyle project for your app.
In the "Build" section of the project, add a build step to run the "docker build" command to build the image for the container.
Add a second step to run the "docker run" command to start a container using the image created in step 3.
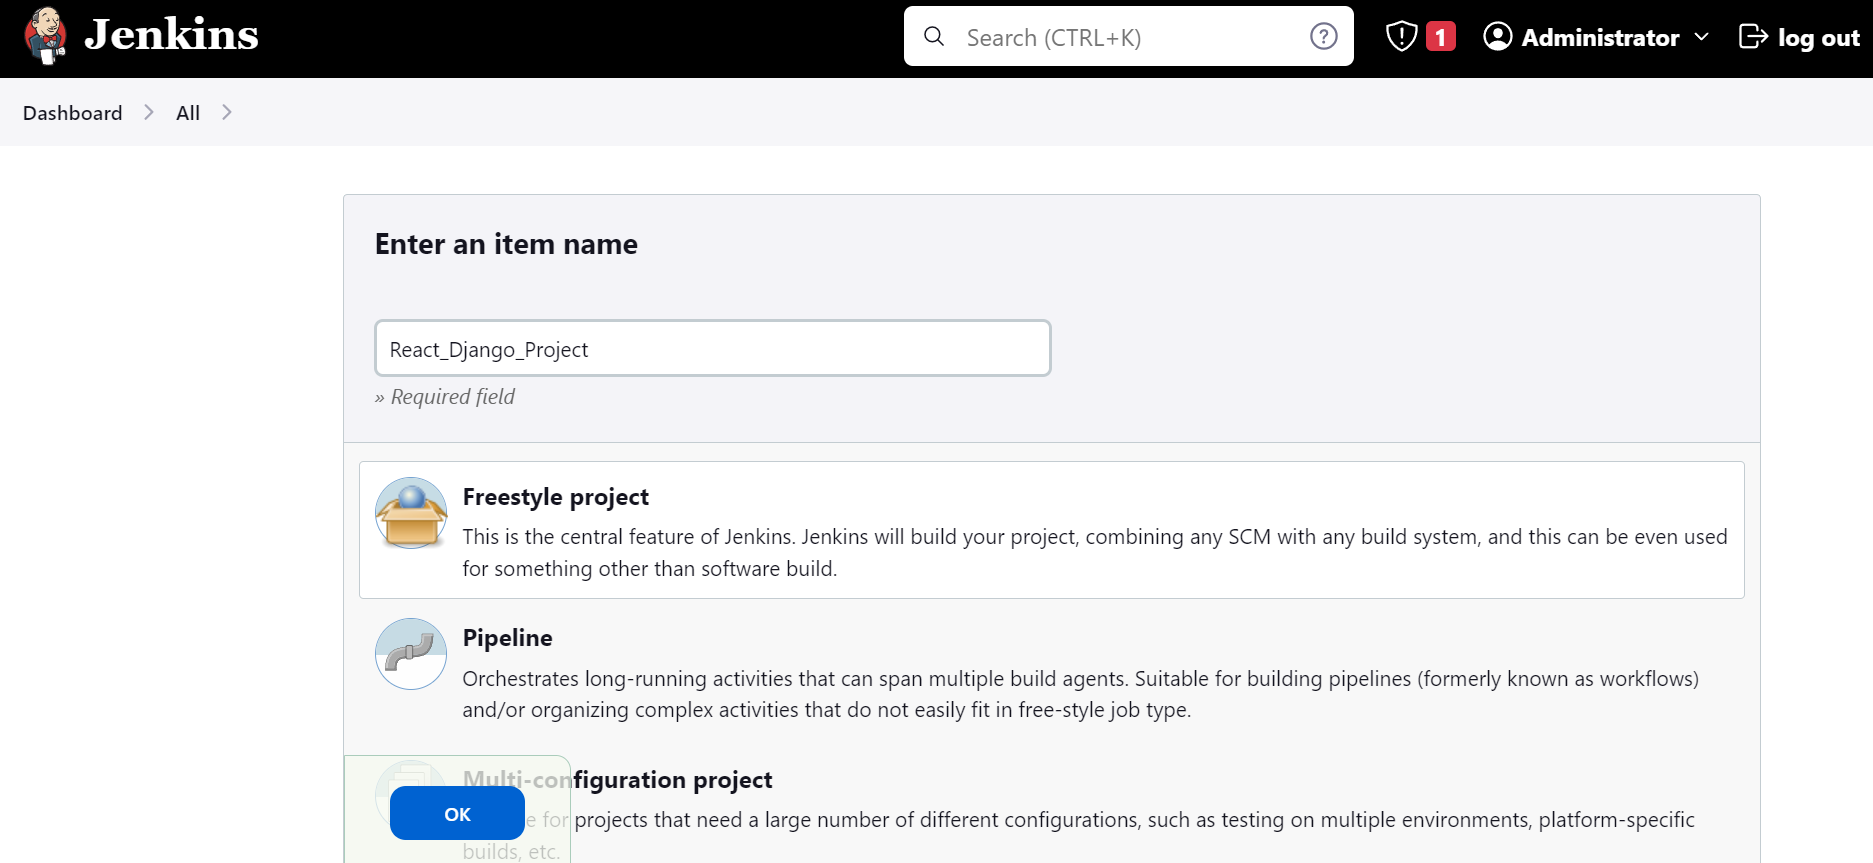
Step 1: So, I am creating a New Item (Freestyle Project) with the name React_Django_Project.
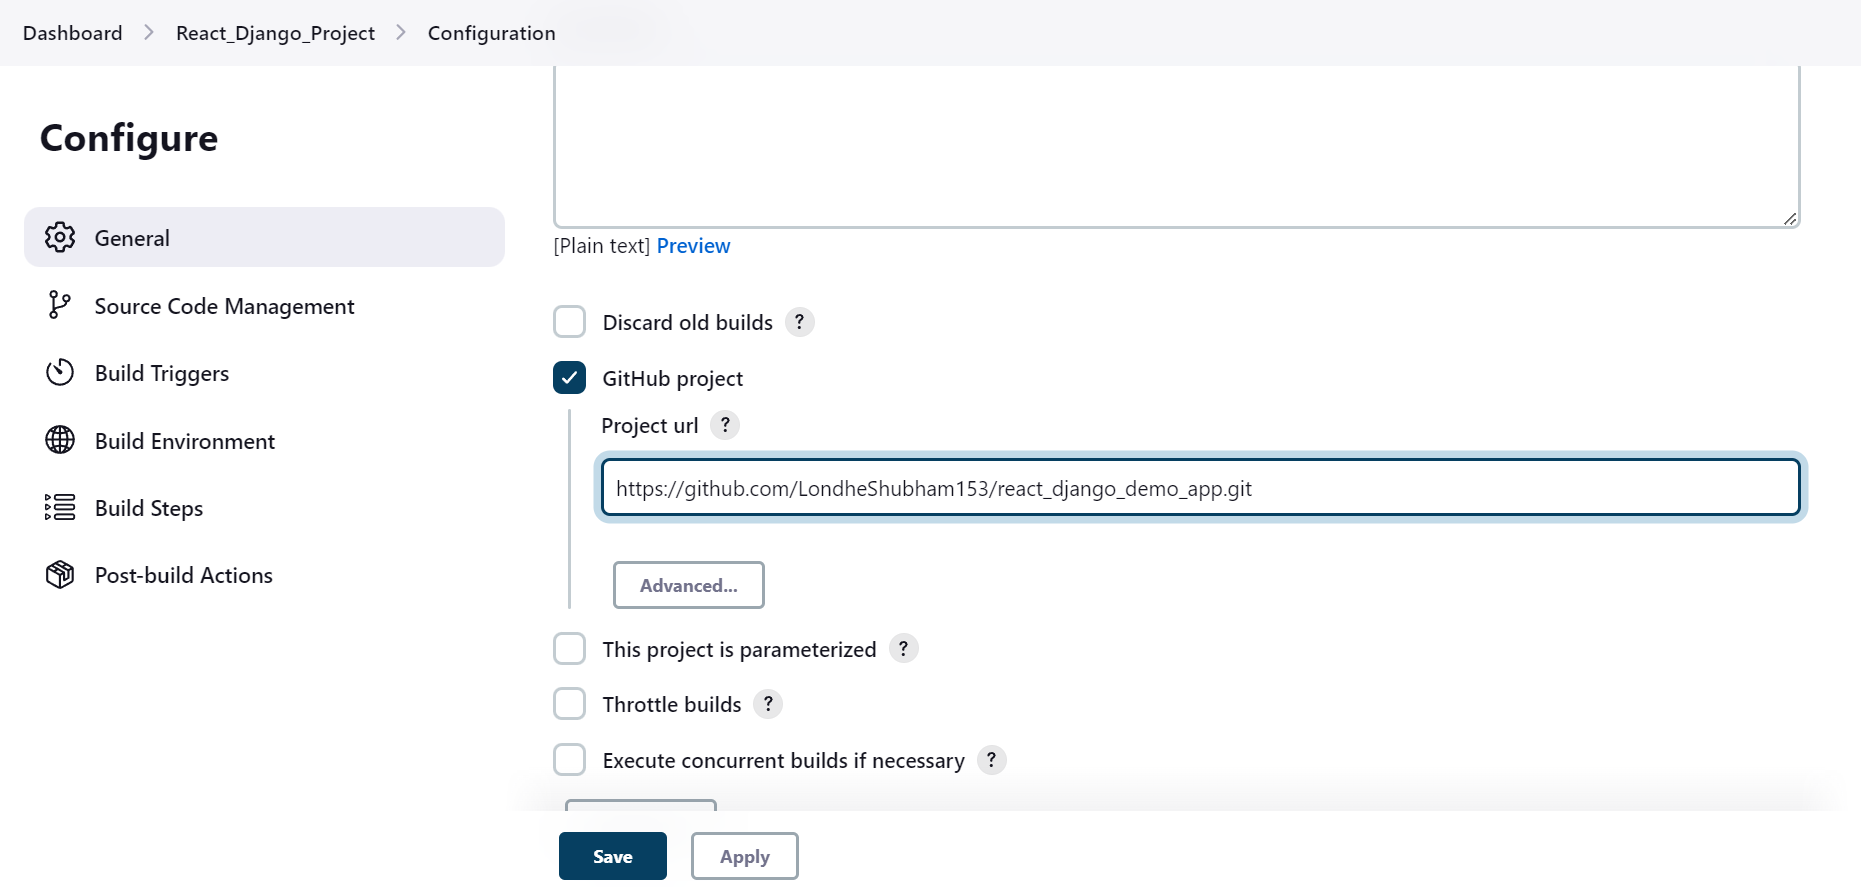
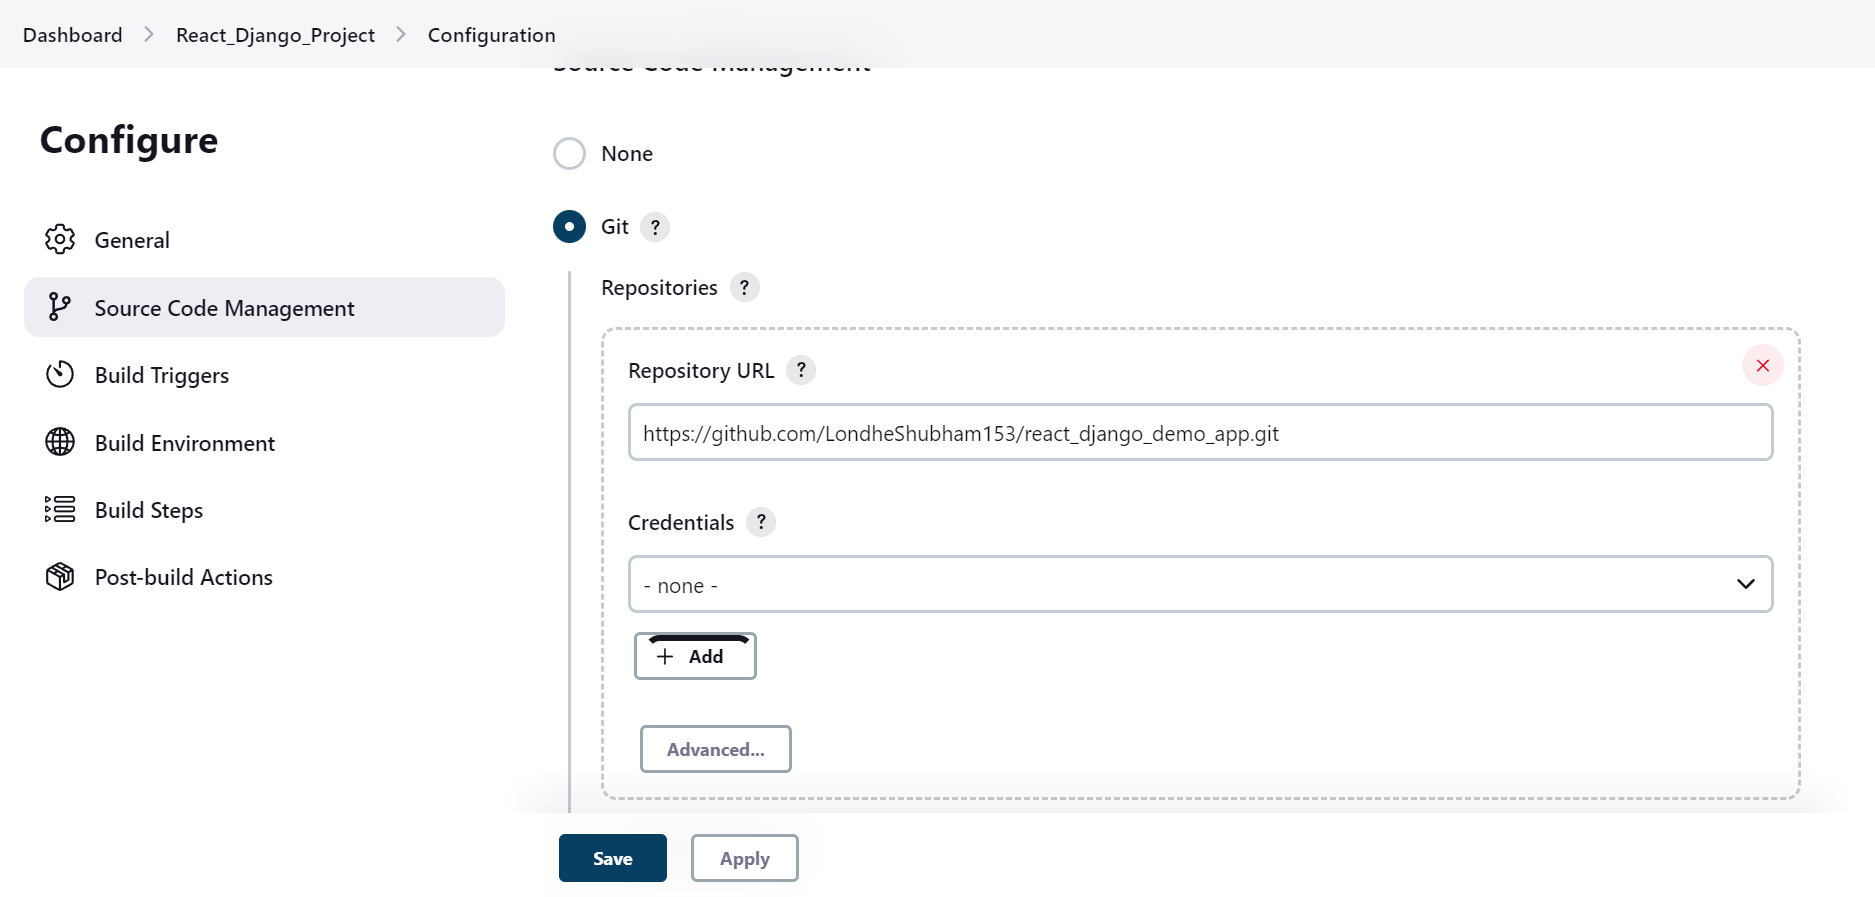
Step 2: Now provide the GitHub link of your React-Django Project in General (GitHub Project) and in Source Control Management (Git) that will contain the Dockerfile to build the Docker image.
Remember if your GitHub Project is personal so you have to provide credentials (password) so that GitHub can integrate with Jenkins. So to provide passwords go to the AWS EC2 instance and execute
$ ssh-keygen
This command will generate two keys i.e one public key and a private key.

I generated the key before so it was asking me to overwrite. After generating the key navigate to the .ssh folder that contains your keys (public and private).

This is the Private key that is stored in id_rsa. Now the public key is stored in id_rsa.pub

Now, these two keys will help in GitHub integration with Jenkins. Now go to GitHub and under your profile go to settings, then go to ssh and gpg keys and under that click on New SSH Key add a public key that begins with ssh-rsa that you had generated while executing ssh-keygen i.e stored in id_rsa.pub.

After adding SSH Key in GitHub go to your Jenkins and add the credentials under your Item.
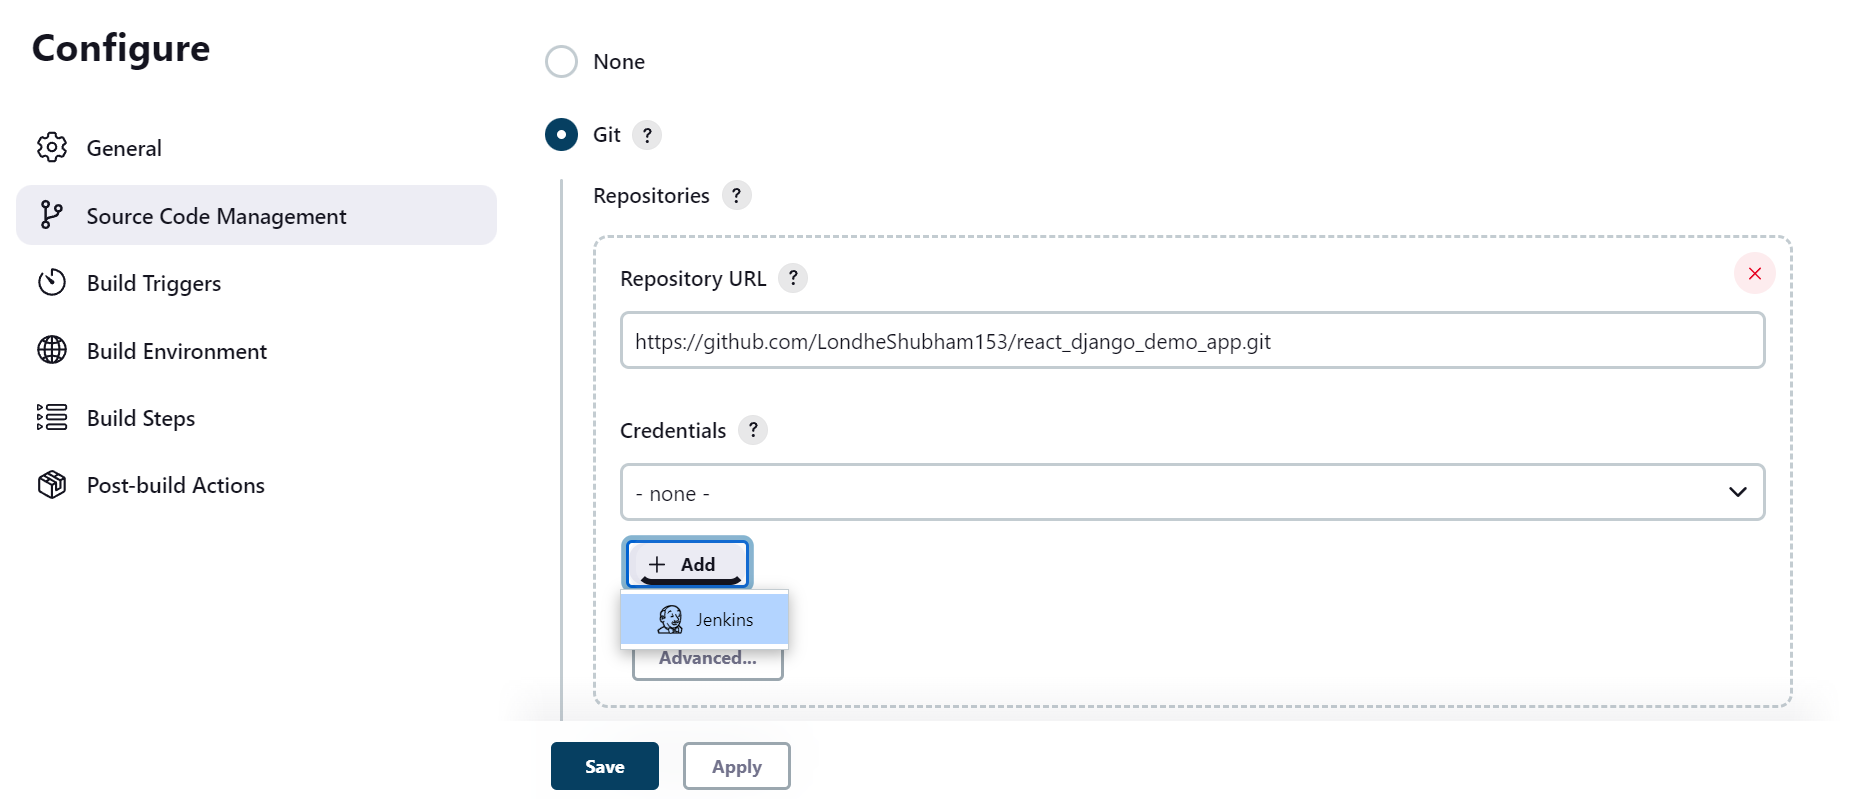
After clicking on Jenkins new dialog box will appear. Under Kind select ssh username with the private key, give the ID name and then the username of your AWS EC2 instance (my username is ubuntu), then under private key click on Enter directly and paste the generated private key that is stored in id. rsa
Now after adding the project to GitHub Project and in Git, just go and click on Apply and Save. After this click on BUILD NOW, now your project will start building. If the build is successful you will see a green tick in a circle below filter builds.
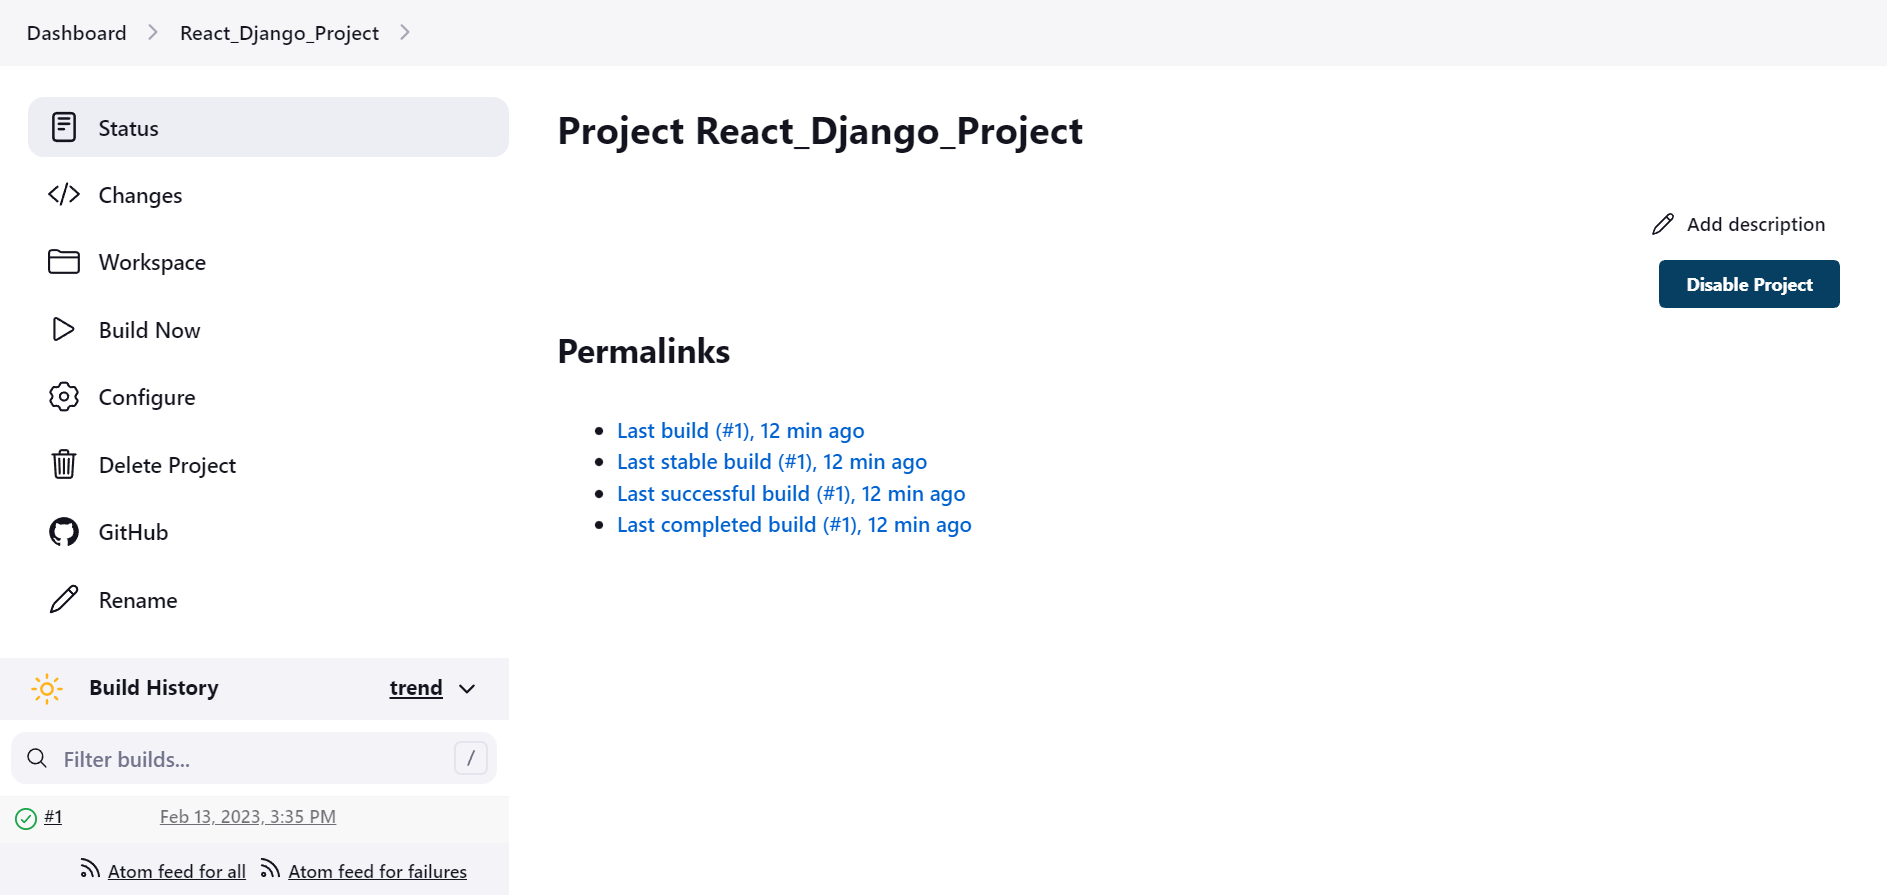
This project will be added to your Jenkins workspace you can see by going into
$ cd /var/lib/jenkins/workspace/To-Do-App

Now to build the Dockerfile go to configure of React_Django_Project and under post-build-actions, click on execute the shell.

Execute the commands of docker build and run the container on port 8001 because in Dockerfile I had given this port number under EXPOSE.

NOTE: Before building this job again first execute the command in the EC2 server that gives all the permissions to Docker so that docker runs without sudo otherwise Jenkins will throw the error of permission denied and the job will be failed.
$ sudo usermod -aG docker $USER
$ sudo reboot
After giving the permissions and rebooting the machine. Then build the job now your job will be successfully executed and your container will be running.

You can check whether the container is running or not by executing :
docker ps

Now copy the <Public IP:8001> of the EC2 instance and paste it into the web browser.

We had done this Task 1 with docker build and run commands by creating the Dockerfile. Now, let's deploy the same website in Task 2 with the help of docker-compose. (Refer to my previous blogs for Docker)
Task 2-
- Create a Jenkins project to run the "docker-compose up -d" command to start the multiple containers defined in the compose file.
Before creating Jenkin's job install docker-compose in your AWS EC2 Ubuntu instance where you had installed your Jenkins. (You can refer to my docker-compose blogs to learn about it)
After installing docker-compose, create a new Jenkins_Job (React_django-Project_Compose) and do the same steps as you had done before.
In this Jenkin's Job add the build step and execute the shell under this execute the docker-compose command
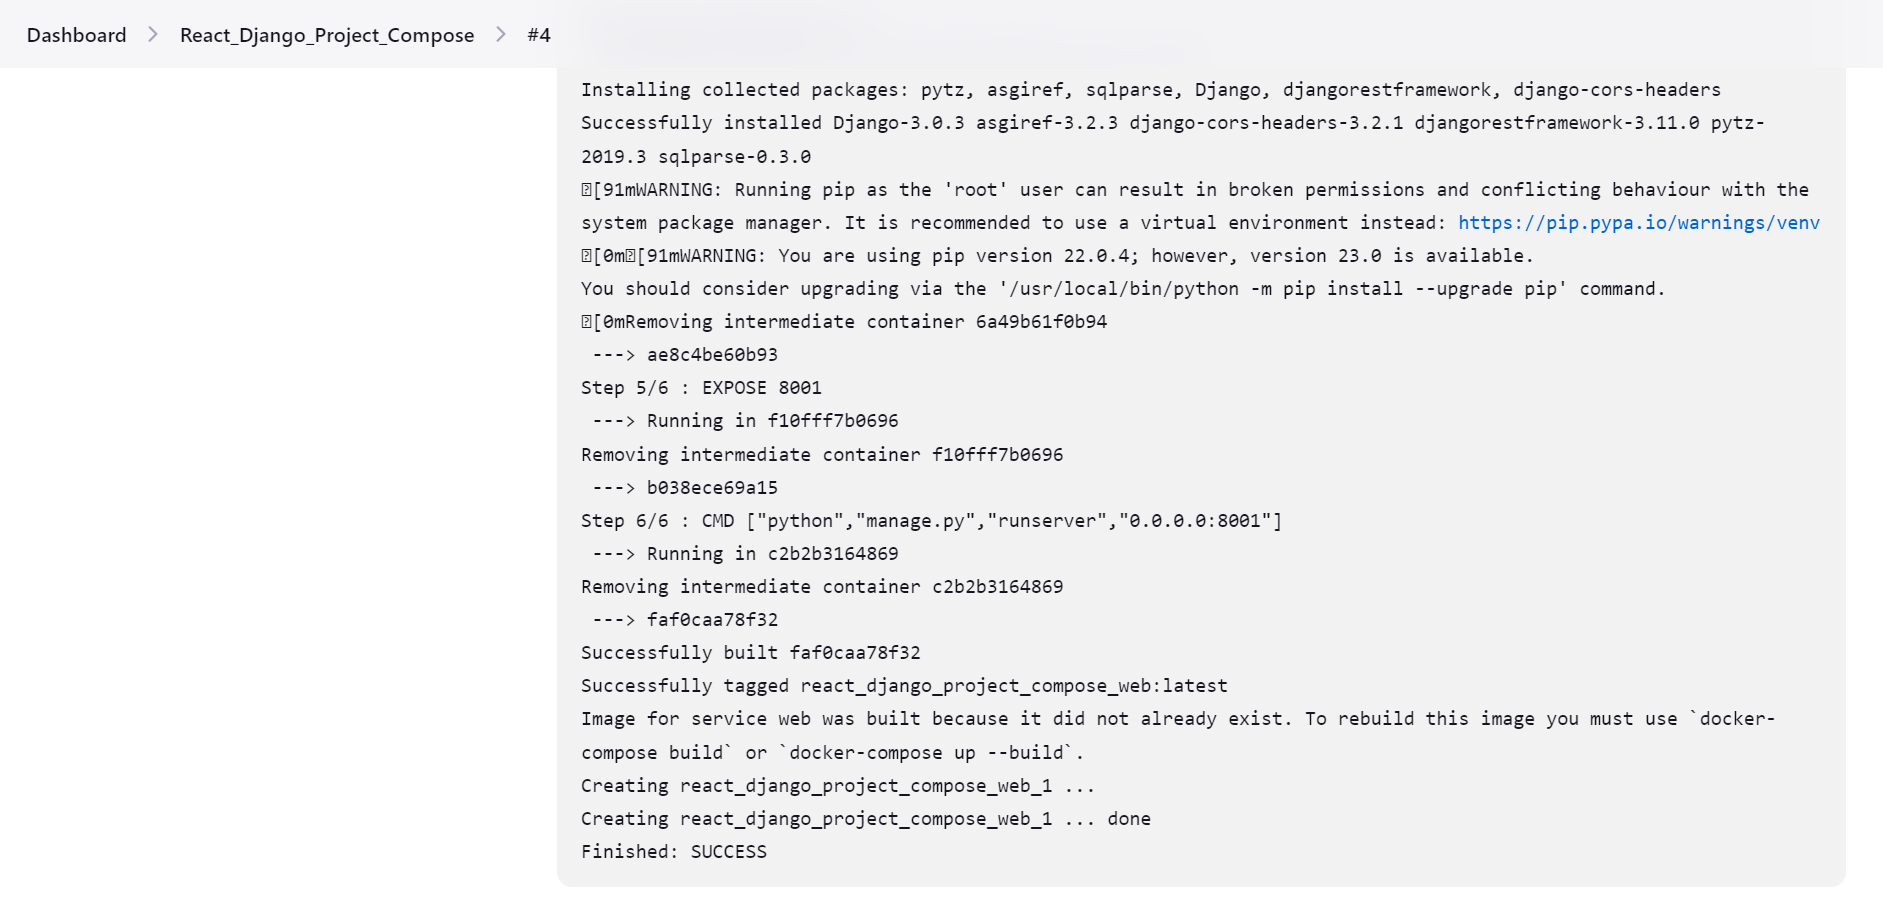
$ echo "This command will create the image and run the container"
$ docker-compose up -d

This echo command will print the line and the docker-compose command will create the image and run the container of that created image.
Now you can verify with the public IP of the EC2 Instance with port number 8001, the website was successfully running.

Make sure that the docker-compose file is present in the repository. It looks like this :

- Set up a cleanup step in the same Jenkins project to run the "docker-compose down" command to stop and remove the containers defined in the compose file.
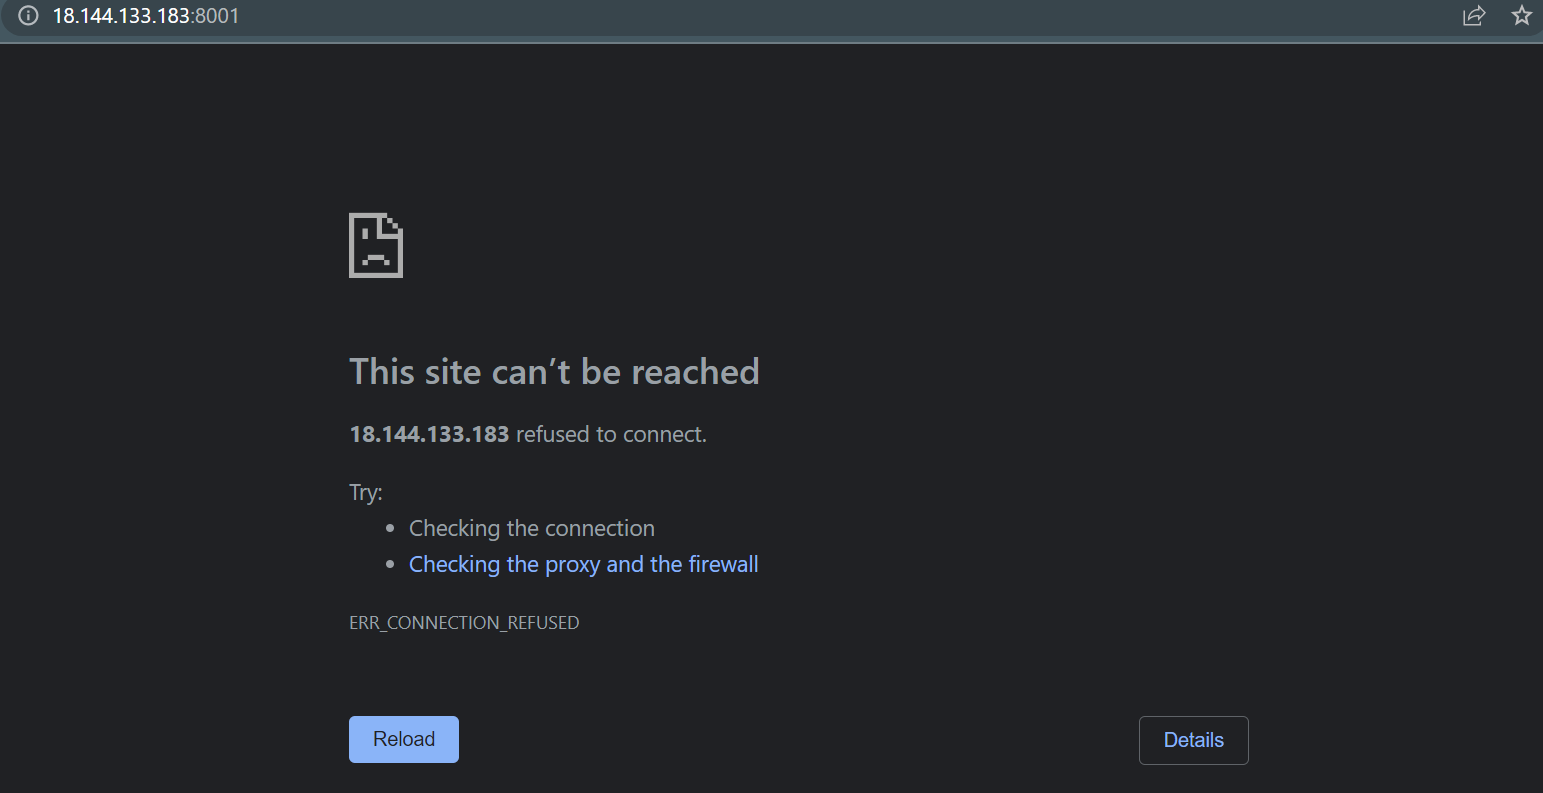
docker-compose down is to down the containers means it'll delete the containers that are created by docker-compose up -d command. To down the container execute the:
$ docker-compose down

Here the build is success and all the containers have been stopped. Now, the website is also not running.
That's it for today's Task 23 !! I hope you'll learn something from this blog and do check out my previous blogs on Linux, Docker, Shell scripting, Git, and GitHub.
Follow me on Hashnode for more upcoming blogs on DevOps and AWS.
You can connect with me on Twitter !! (amitmau07)
THANK YOU :)
HAPPY LEARNING !!


