Day 19: Docker Volumes and Network

DevOps Enthusiast, Learning Linux
This is the Day 19 of the #90DaysofDevOps challenge in which we are going to learn about Docker Volumes and Networks and will also see an example of docker-compose. As we had learned about the docker-compose in the previous blog.
First, we'll verify whether the image is working or not on the server.
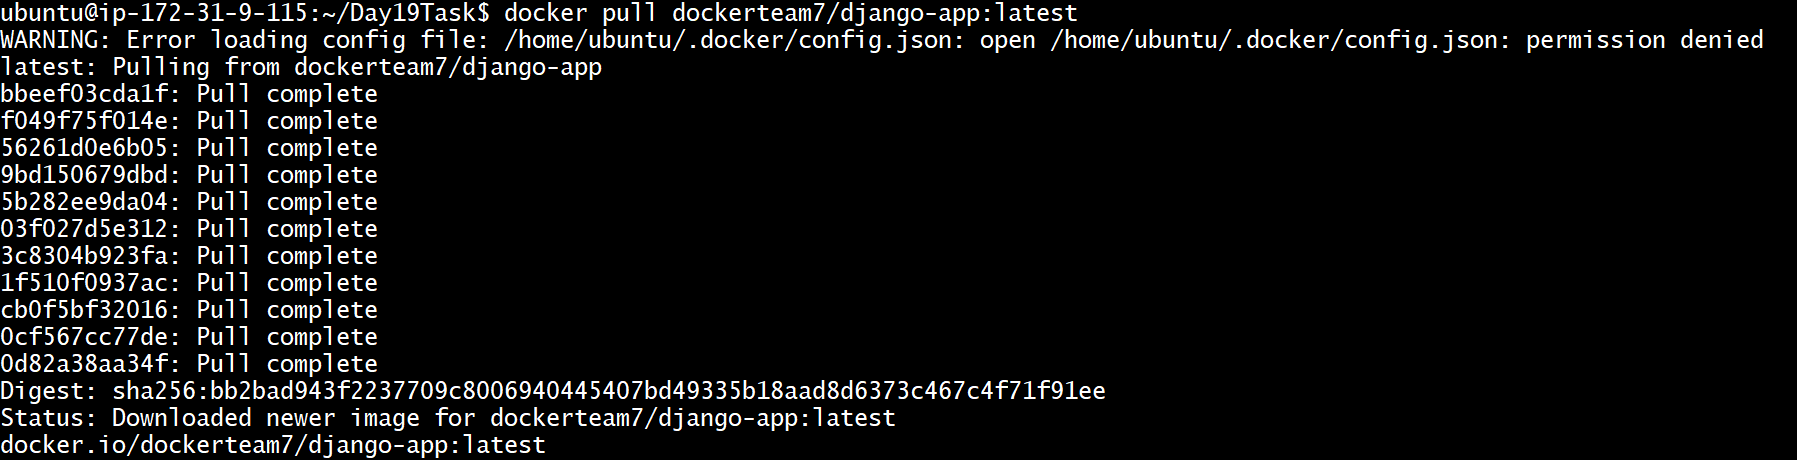
Step 1: Pull the docker image from the DockerHub (dockerteam7/django-app). I am using this image on my Ubuntu 18.04 instance.
docker pull dockerteam7/django-app
Step 2: After pulling the image, create the docker container. Make sure that the container is not running on the 8080 port, if it is running on the port then remove or stop the container.
docker run -d --name django-app -p 8000:8000 dockerteam7/django-app:latest

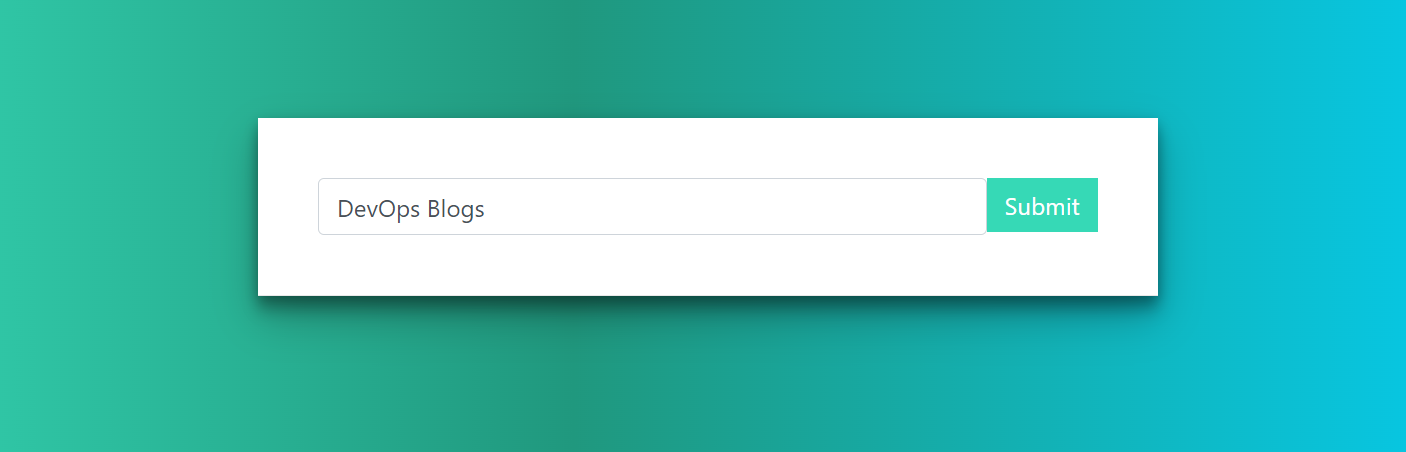
Step 3: You can access this app on the browser by copying the <public IP:8000>
So first, let's create the docker-compose.yml file in which we are going to pull the image of (dockerteam7/django-app) this application and database container and by docker-compose up -d the command will pull the image and create the container with this only command.
Step 1: Create a docker-compose.yml file.
nano docker-compose.yml

Contents of docker-compose.yml file.
version: "3.4"
services:
  web:
   container_name: "django-app"
   image: "dockerteam7/django-app"
   ports:
     - 8000:8000

  database:
   container_name: "SQL-container"
   image: "mysql"
   environment :
    MYSQL_ROOT_PASSWORD : "admin@123"
   ports:
     - 8001:8001
Step 2: Execute the docker-compose up -d to run the docker-compose file. After running this command it will pull the image and create the container. This is the advantage of docker-compose, by single command your image and container have been created.
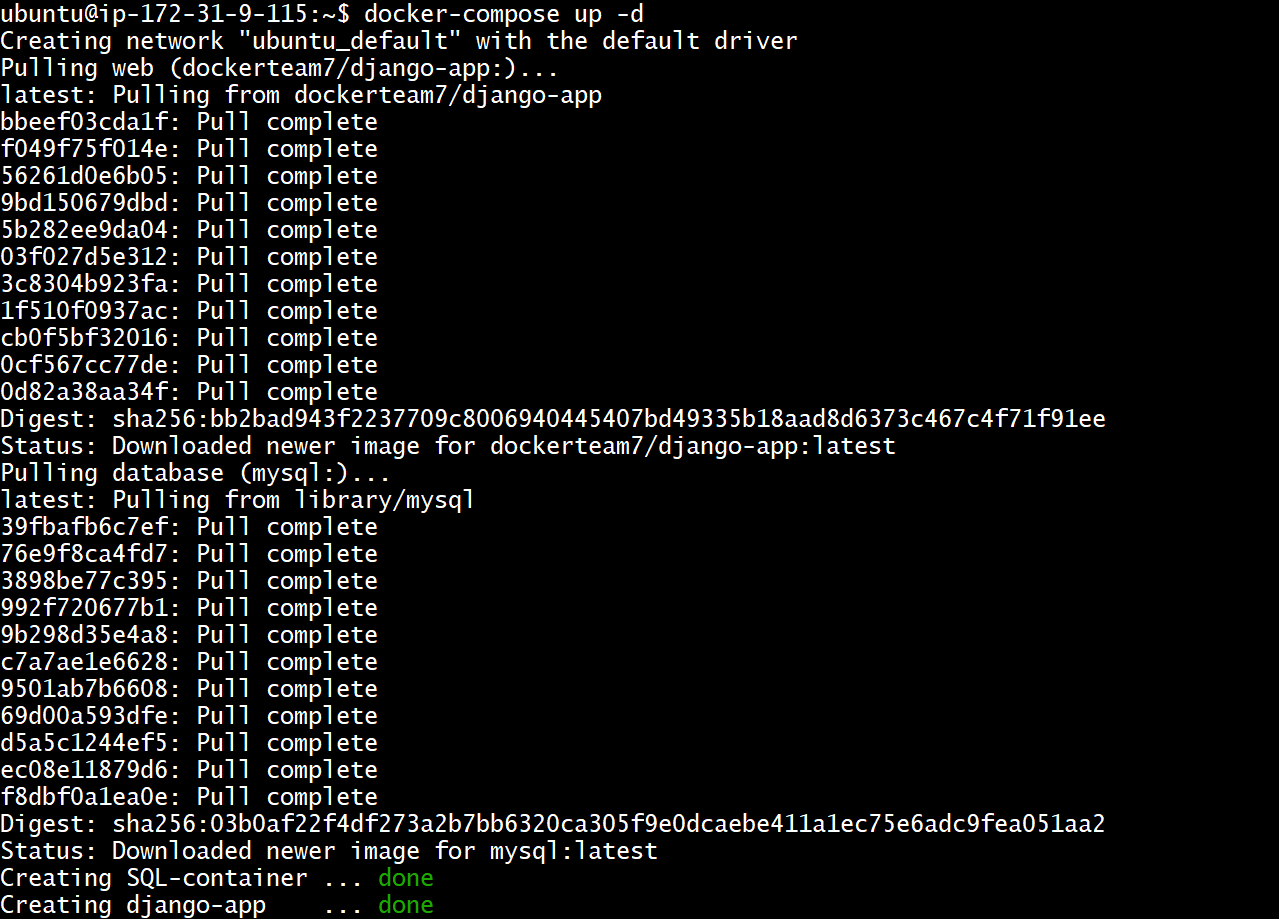
Here two images have been pulled from the DockerHub first one is the django-app and the second one is the MySQL image.
$ docker ps
By executing this command you can see the two running containers. One will be accessed on the 8000 port (django-app).


$ docker-compose down

This command will down all the running containers. Now I am taking an example of an nginx webserver where I am creating the replicas that will automatically create the multi-containers.
 version: "3.4"
services:
  web:
   image : "nginx:latest"
   deploy:
     replicas: 3
Under deploy provide replicas that will create the 3 containers of nginx web server that will be accessed on the 8080 port number.
docker-compose --compatibility up -d
This command is used to create replicas of the web server.

You can see here the 3 containers are running.
Docker Volumes:
Suppose your docker container has been stopped or deleted somehow then your data has been also deleted. To preserve the data in a separate directory we use Docker Volumes.
In the earlier days of Docker bind mounts has been used. In bind mounts, the file and directory are on the Docker host machine and it is mounted by the docker containers. They rely on the Docker host machine means they have a specific directory structure that is available on the Docker host machine. The file or directory is referenced by its absolute path. In bind mounts, we can't use Docker CLI commands.
Docker Volume is used for persisting data that is generated by Docker and used by containers. In volume, we can use Docker CLI commands. They are easier to back up. Volume supports volume drivers that are used in remote host machines.
To create a docker volume.
$ docker volume create <volumename>To list all the volumes.
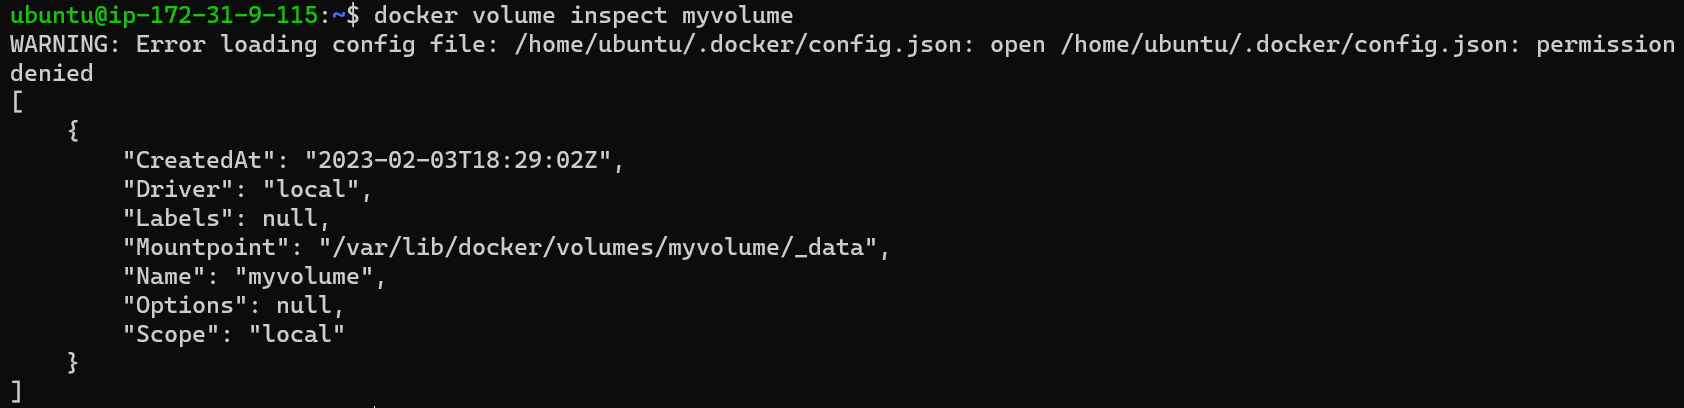
docker volumes lsTo inspect the docker volume.
docker volume inspect <volumnename>To delete all the volumes.
docker volume pruneTo attach the volume with the container.
$ docker run -d --mount source=myvolume,destination=/app nginx:latest
Docker Network:
In Docker, if we want to establish communication between the two containers then here we use Docker Network. With the help of Docker network drivers, we can set the communication between them.
Docker Network Drivers:
bridge: It is the default network driver that uses a software bridge to establish the communication between the two containers on the same bridge network. It sets the rules on the Docker Host machine so that different containers network cannot able to communicate with each other.
overlay: Overlay network drivers are mostly used in swarm clusters. It is used for connecting multiple containers with the different Docker daemons or we can connect the Docker daemon to the standalone container. It is also called ingress.
host: We use the host network driver when we want to establish communication between the container and the host machine. When we want to access the container on the web browser we use the host IP address with the container port number.
none: We use none network driver when we don't want the network on the container. Remember none is not available on the swarm cluster.
ipvlan: It is used when you want total control of IPv4 and IPv6 addresses.
To check the docker networks execute the ifconfig command. This command will list all the network interfaces. I am using Ubuntu 18.04 Machine. In the image, you can see docker0 network interface.

By executing
docker network lsyou can see all docker networks that have been created.
To create a docker network with the driver.
docker network create --driver bridge mynetwork

Here you can see mynetwork has been created.
Now I want to link the container to my network. So, the command is :
docker run -d --name nginx-webserver --net=mynetwork nginx:latest
To inspect the network execute:
docker network inspect mynetwork
To connect the network with the docker container.
docker network connect <Networkname> <containerName>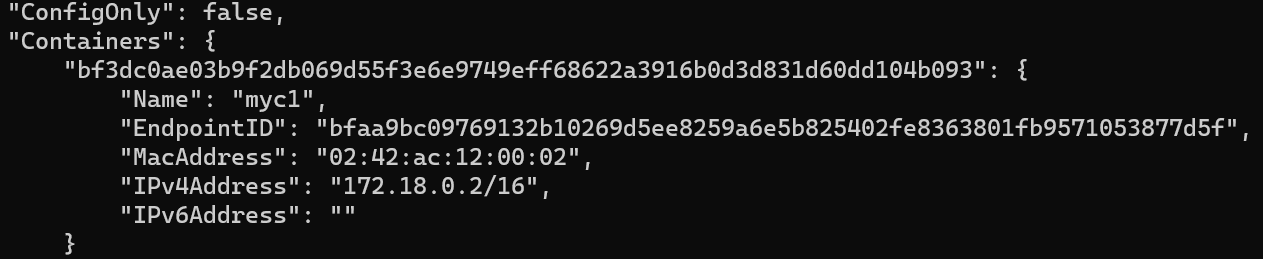
To disconnect the created network with the docker container.
docker network disconnect <Networkname> <containerName>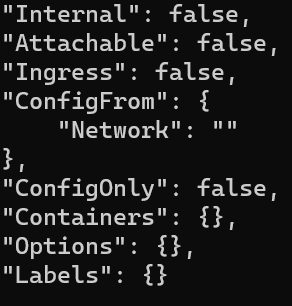
You'll get a lot of things to search for Containers it will give you the name of the container that is attached to your container.
So, That's it for the Day 19 Task. I hope I had covered all the details in simple language.
Stay Tuned !! for the next blog which is the cheatsheet of all the Docker Commands.
Follow me on Hashnode for more Linux and DevOps Blogs !!
You can connect with me on Twitter !!
THANK YOU :)
HAPPY LEARNING :))


