


Table of contents
As I had discussed the Jenkins Freestyle Project and deployed the React application website on Day 23 #90DaysofDevOps challenge.
So, in today's Day 24 challenge, we are going to deploy the Node To_Do project and discuss the GitHub-Webhooks.
Task
Fork the Node_To_Do repository. Forking the repository means a copy of the original repository that is available on our GitHub account.
Create a connection to your Jenkins job and your GitHub Repository via GitHub Integration.
What is GitHub Webhook and how to use it in Jenkins Job?
In the Execute shell run the application using Docker compose
After forking the repository clone into your Ubuntu 18.04 EC2 Instance and creating Dockerfile and docker-compose file and pushing to it. Let's first discuss GitHub Webhook.
By GitHub WebHooks we can set up integrations with GitHub apps and with other apps. Like in Jenkins, a job build can be triggered in 6 ways. In one of these ways, one option is to trigger the build job by clicking one GitHub Hook Trigger for GitScm Polling. By clicking on this option and integrating Jenkins with GitHub by webhook a Jenkins Build Job will be triggered when any changes happen in the repository it will automatically build the Jenkins Job.
So, to integrate with the GitHub repository go with the following steps:
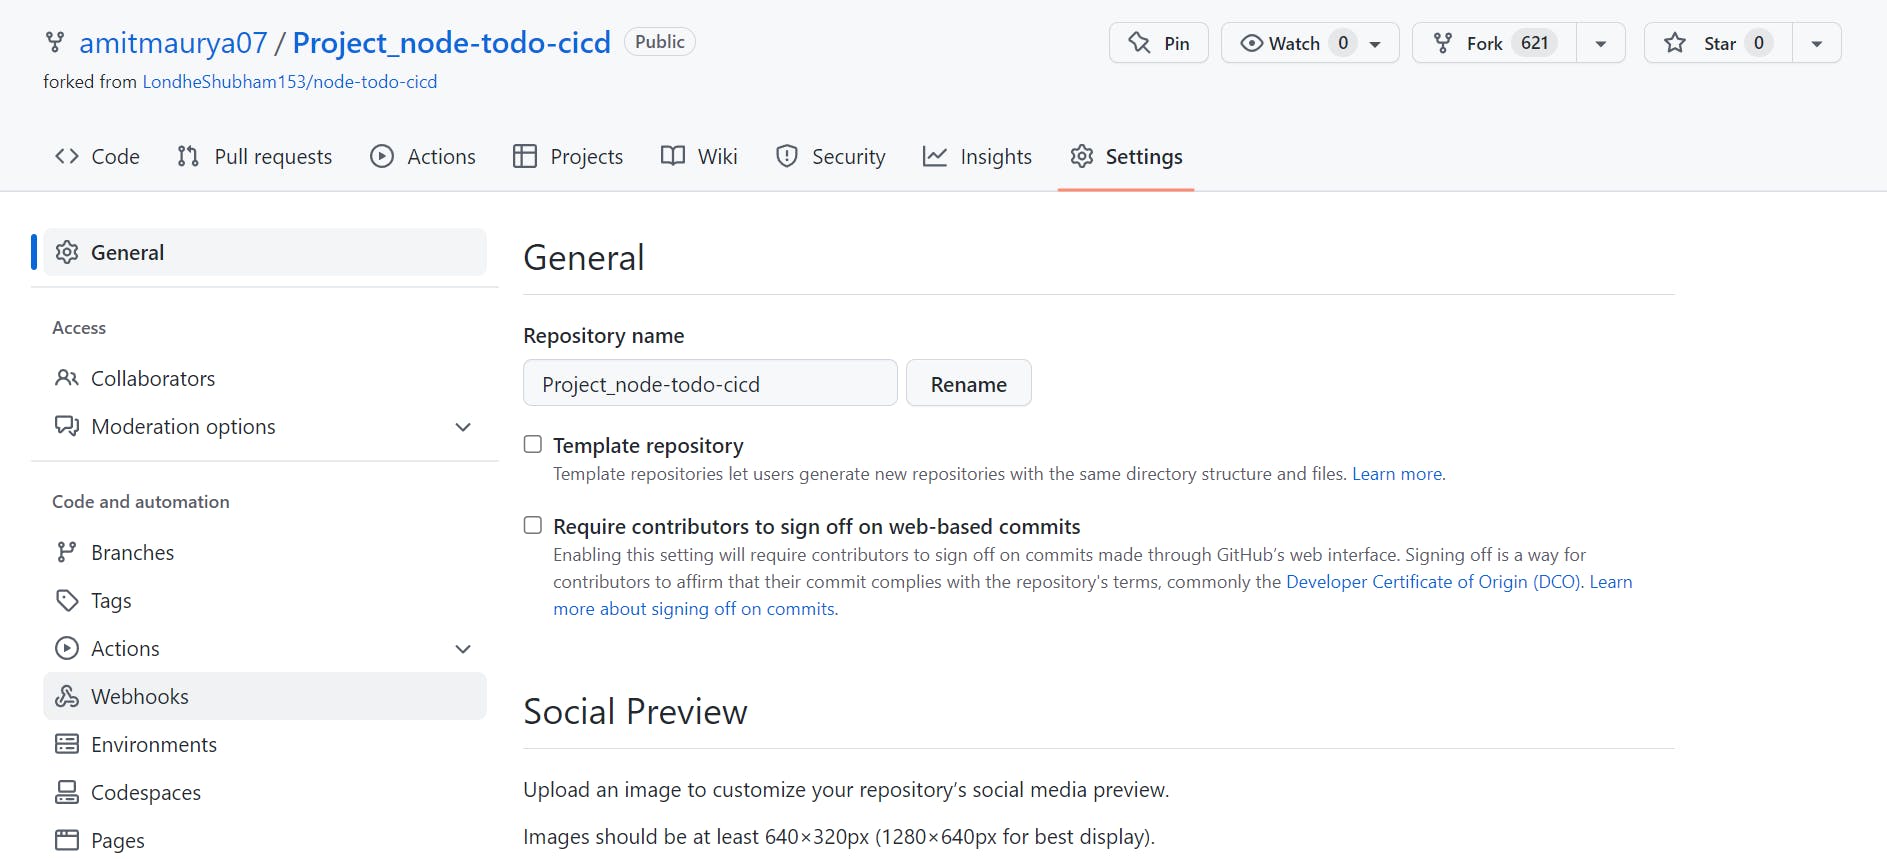
I am adding a webhook to this repository. (https://github.com/amitmaurya07/Project_node-todo-cicd)
Go to the settings of the repository and go to webhook.
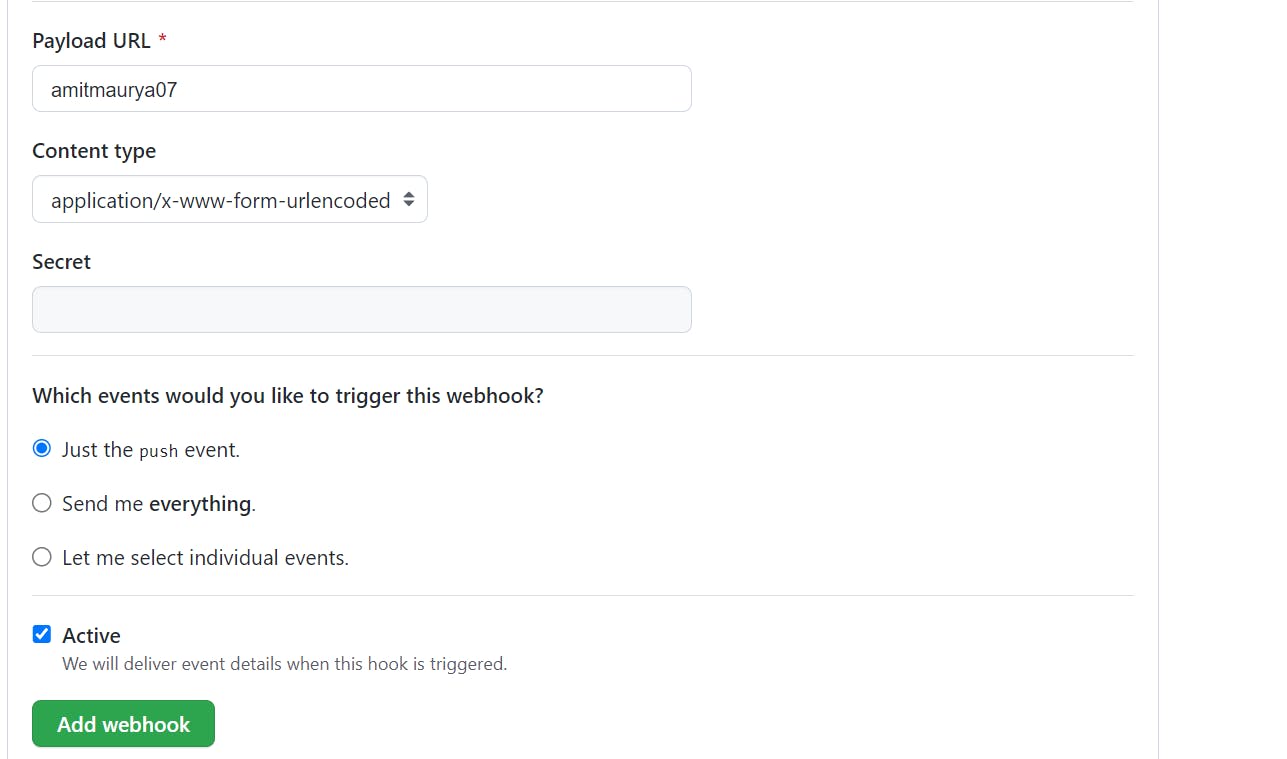
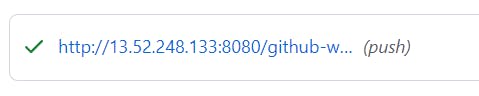
Under webhook click on Add webhook, and it will ask password of GitHub. It looks like this :
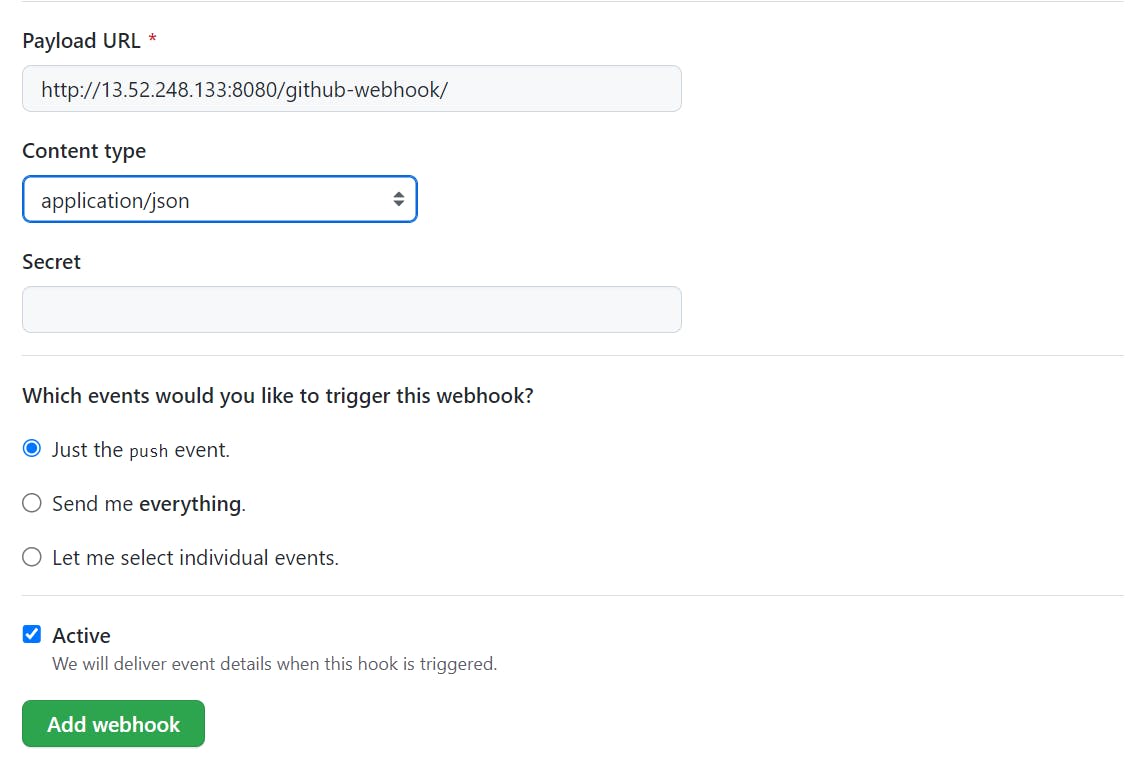
Under Payload URL provide the Jenkins URL with github-webhook and select application-json content type as it is the default content type. Then click on add webhook.
After a few seconds refresh the page if the webhook is showing a green tick then the webhook is successfully pinged with the Jenkins server means if you will push anything to this repository then the Jenkins Job of this repository will automatically start building the Job.
NOTE: Remember one thing if you stop the Jenkins instance and then again start the instance your public IP will be changed so you have to every time change the Jenkins URL under webhook. I would suggest you delete the old webhook and create a new webhook.
Let's create the Jenkins Job and provide the GitHub project and save it. Don't click on Build, by webhook it will automatically build the Jenkins Job. So, I am using the Project_node_To_Do_cicd repo in which I had the webhook.
Steps to create a Jenkins Job :
- Click on New Item and give the new Item Name then click on Freestyle Project and then OK.

Now, in General under GitHub Project paste the Repo URL and under Source Control Management under Git paste the same Repo URL and always check about the branch specifier on which branch all files are present, and which branch you want to build.
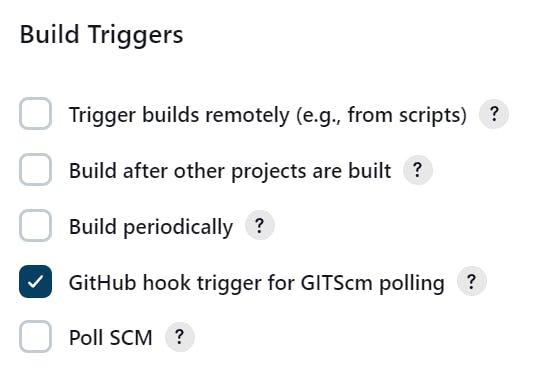
Come Under Build Trigger and click on GitHub Hook Trigger that will trigger the Jenkins Build by webhook.
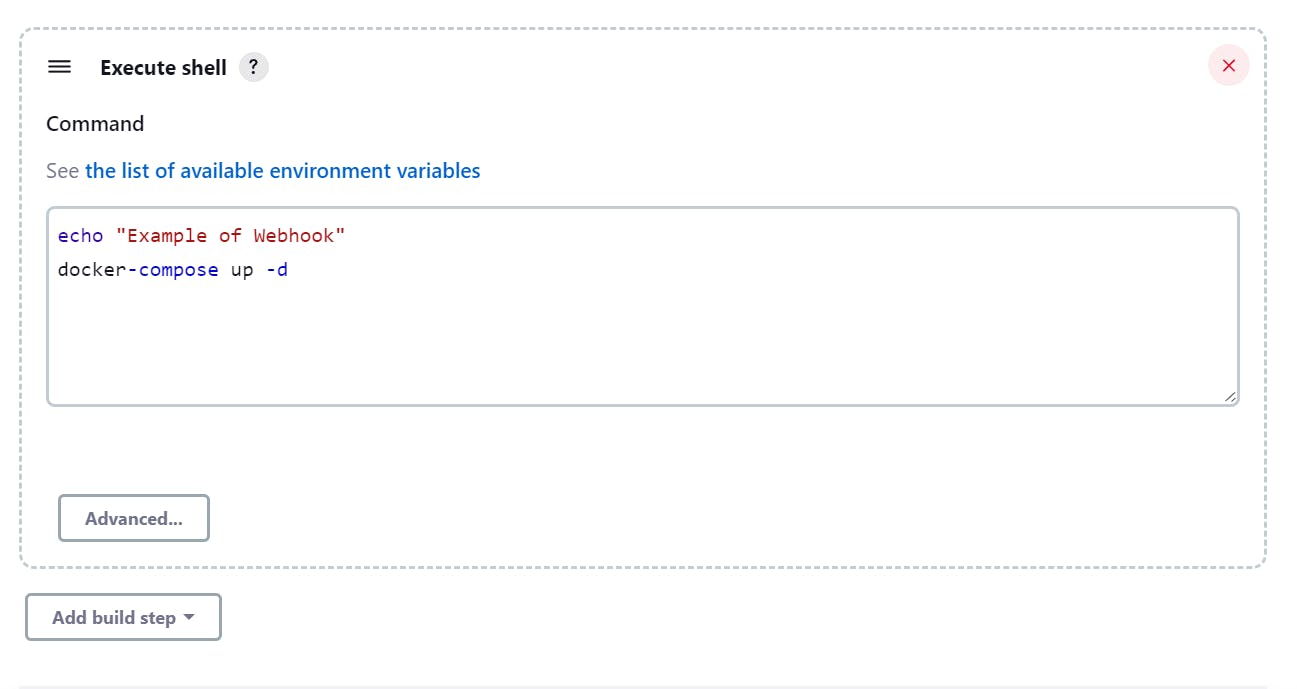
Go to Add Build Step and click on execute the shell and write the docker-compose command that will create the image and start the containers. After this save and apply, remember don't click on Build Now.
Now, I am cloning the repository into my local machine (Windows machine) for making a docker-compose file and pushing it to GitHub. As the docker-compose file is in yaml format so we need proper indentation and to get proper indentation we are using VS Code Editor.

Save this file as docker-compose.yml and push it to the GitHub repo (Project_node-todo-cicd)
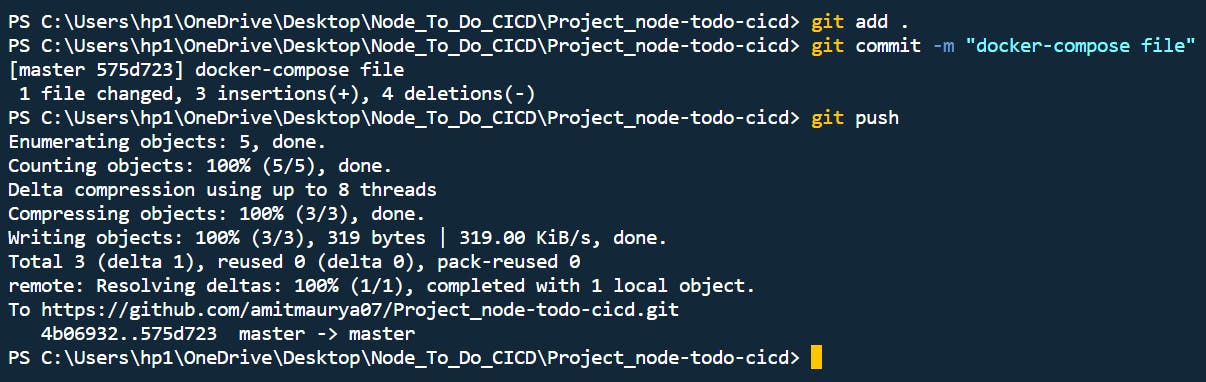
After pushing to the GitHub repo the build will automatically be started.
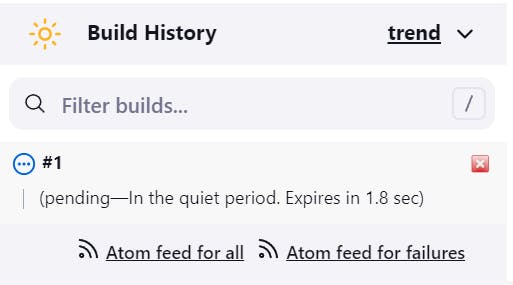
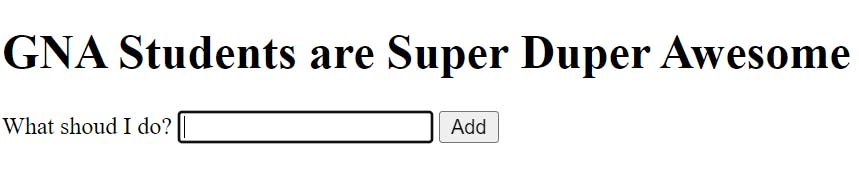
And the Jenkins Job has been successfully built, you can access your node_todo website by the Public IP of the instance with the port number 8000.
You can execute docker ps it to see the running container.

Now to down, all the containers execute docker-compose down . Replace this command with docker-compose up -d and click on Build Now.
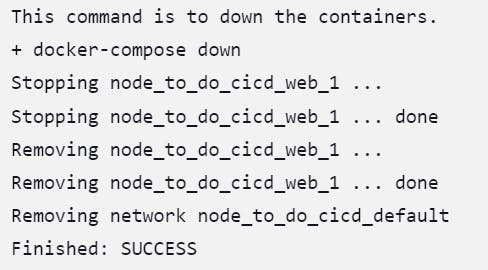
Now, you can verify that no containers are running.

So, this is a short and simple blog that mostly focuses on GitHub Webhooks where we deployed the To_Do website.
Remember one thing after practice stop the Ubuntu 18.04 EC2 instance on AWS.
You can connect with me on Twitter (amitmau07)
Follow me on Hashnode for more Linux and amazing blogs !!
THANK YOU :)
HAPPY LEARNING !!