


Table of contents
This is the Day 22 task of #90DaysOfDevOps in which we are going to learn about Jenkins which is the most essential tool in CI (Continous Integration). As a DevOps Engineer, we are going to automate all the tasks with the help of Jenkins. Now, what is CI/CD?
What is CI (Continous Integration)?
Continuous Integration is a practice that helps developers to automate the code which can build, test the code, and share it with the repository. Suppose a developer had written the code and with the help of a CI tool the code has been built and tested, if something error has been there in the code it will notify the developer of the error and again after resolving the error now again CI tool will build the code, tested it then it will go forward and then the code was ready for the deployment.
So, Jenkins is the most famous CI tool amongst developers and DevOps Engineers.
Jenkins:
Jenkins is an open source java application that runs on Java 11 and Java 17 version. Jenkins is a CI tool that is used to automate all sorts of tasks from building the code to testing the code or deploying the software.
Jenkins has several plugins that can be easily installed, and we can authorize and configure them. In Jenkins, by building the jobs your application will run. Remember Jenkins will be running on the 8080 port.
Installation of Jenkins:
We learned Docker and its commands to push, pull the images, and run the container in my previous blogs. So I am going to use the docker Jenkins image to install Jenkins.
I am using Ubuntu 18.04 t2.micro AWS EC2 instance for installing Jenkins. After connecting with the instance execute sudo apt-get update to update the software packages and then install docker.
$ sudo apt-get install docker.io -y
The "-y" option is giving the yes permission to all installation packages. Then after that pull the Jenkins image.
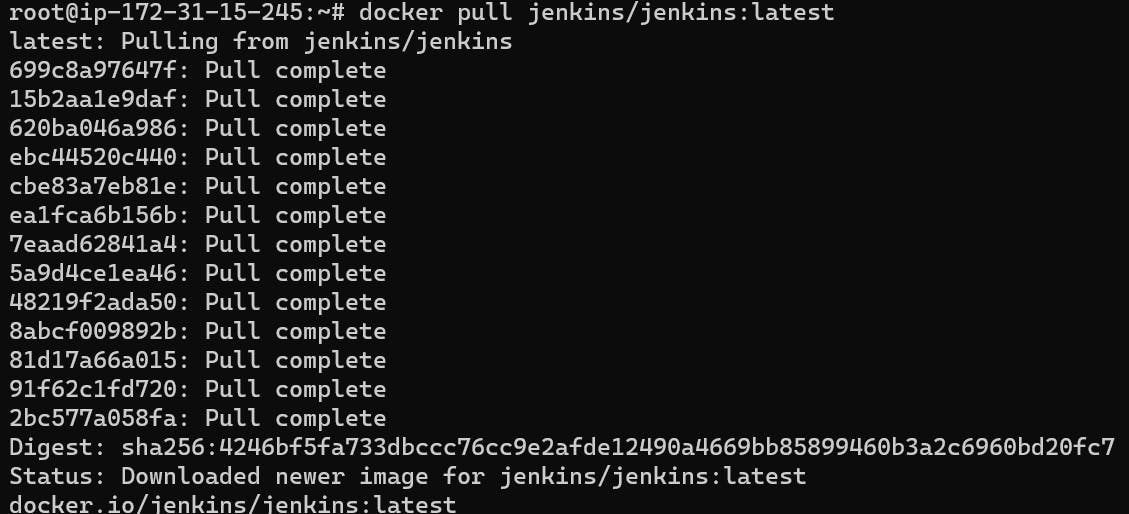
$ sudo docker pull jenkins/jenkins:latest
The jenkins/jenkins:latest is the Jenkins image. After pulling the Jenkins image now run the container with --restart=always policy so that the container will be started when the server will be started automatically without executing the docker start command.
$ docker run -d --name jenkins-server --restart=always -p 8080:8080 jenkins/jenkins:latest

You can see the running container by executing docker ps . After running the container copy the Public IP of the Jenkins instance and paste it into the web browser with port 8080. (<Public IP>:8080)
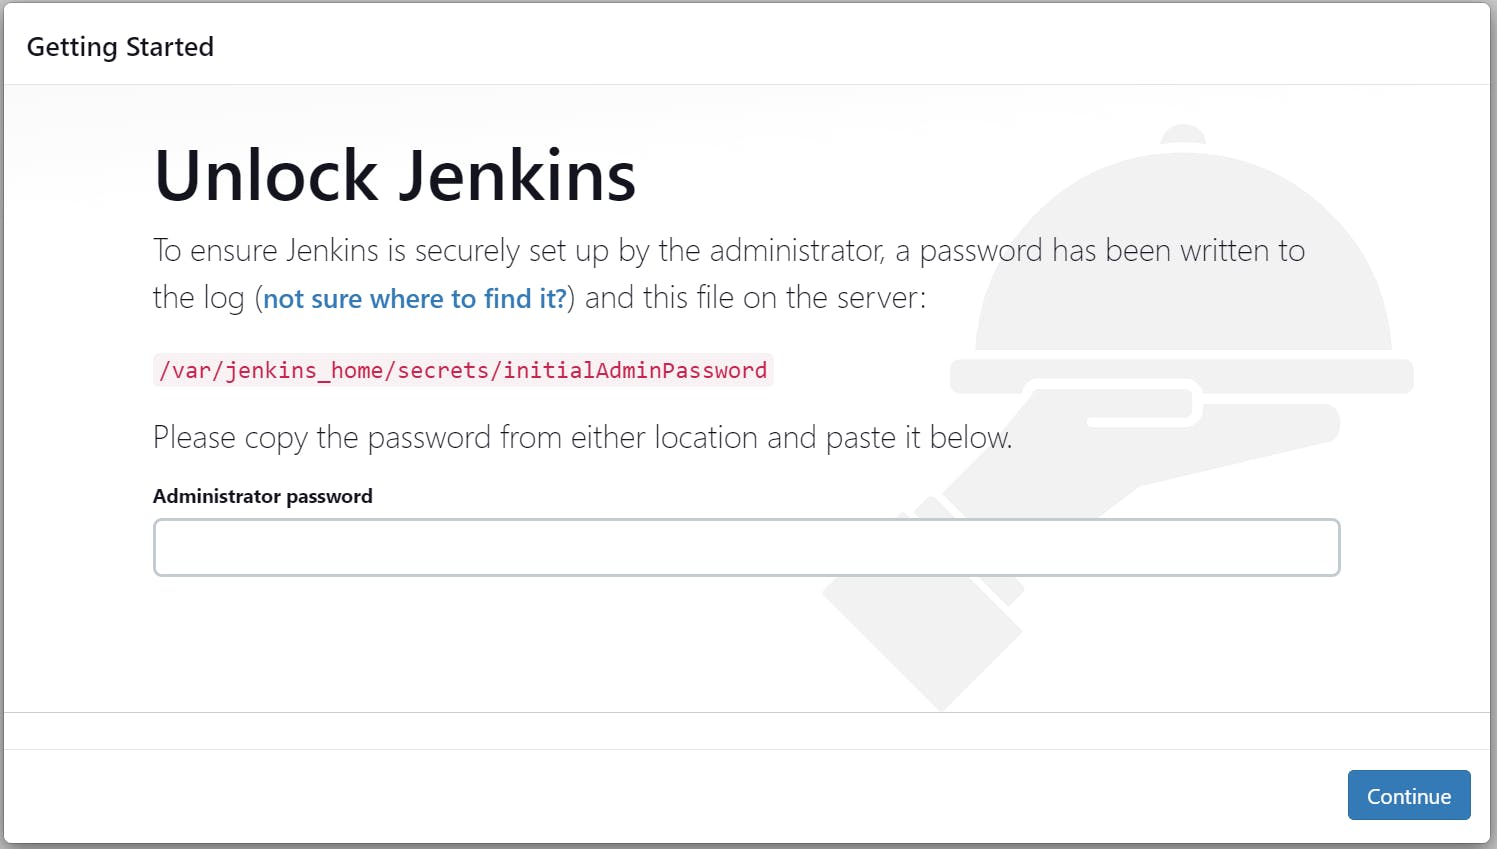
Now Jenkin's page will appear that will ask for the password. You can get the password by pasting the cat /var/jenkins_home/secrets/initialAdminPassword when you not installed with docker, you will get the password. But, as we installed Jenkins with docker so for getting the password we need to go inside the container and execute
$ docker exec -it jenkins-server cat /var/jenkins_home/secrets/initialAdminPassword
You will get the password. Just copy the password from the terminal and paste it into the Jenkins website.

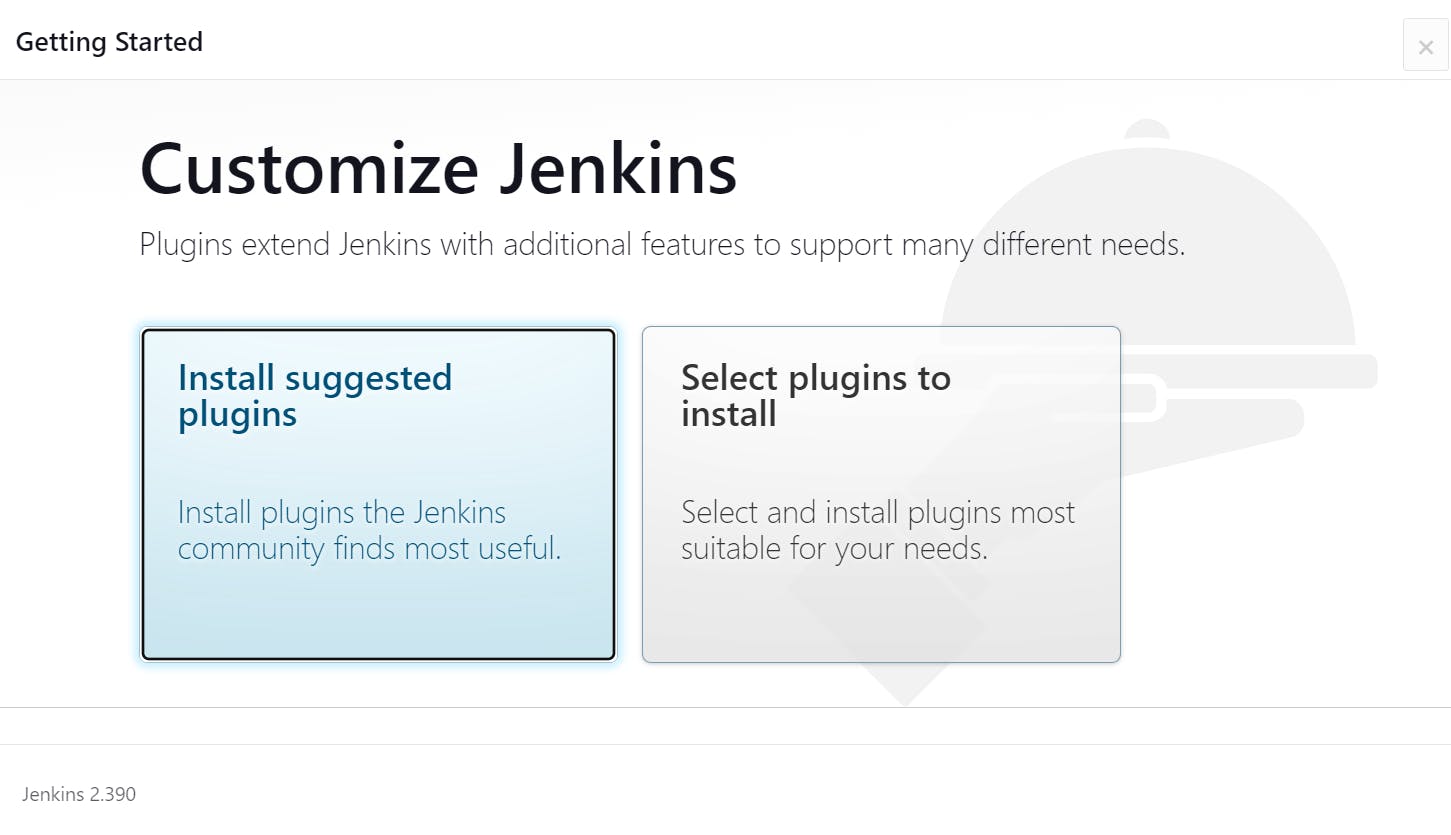
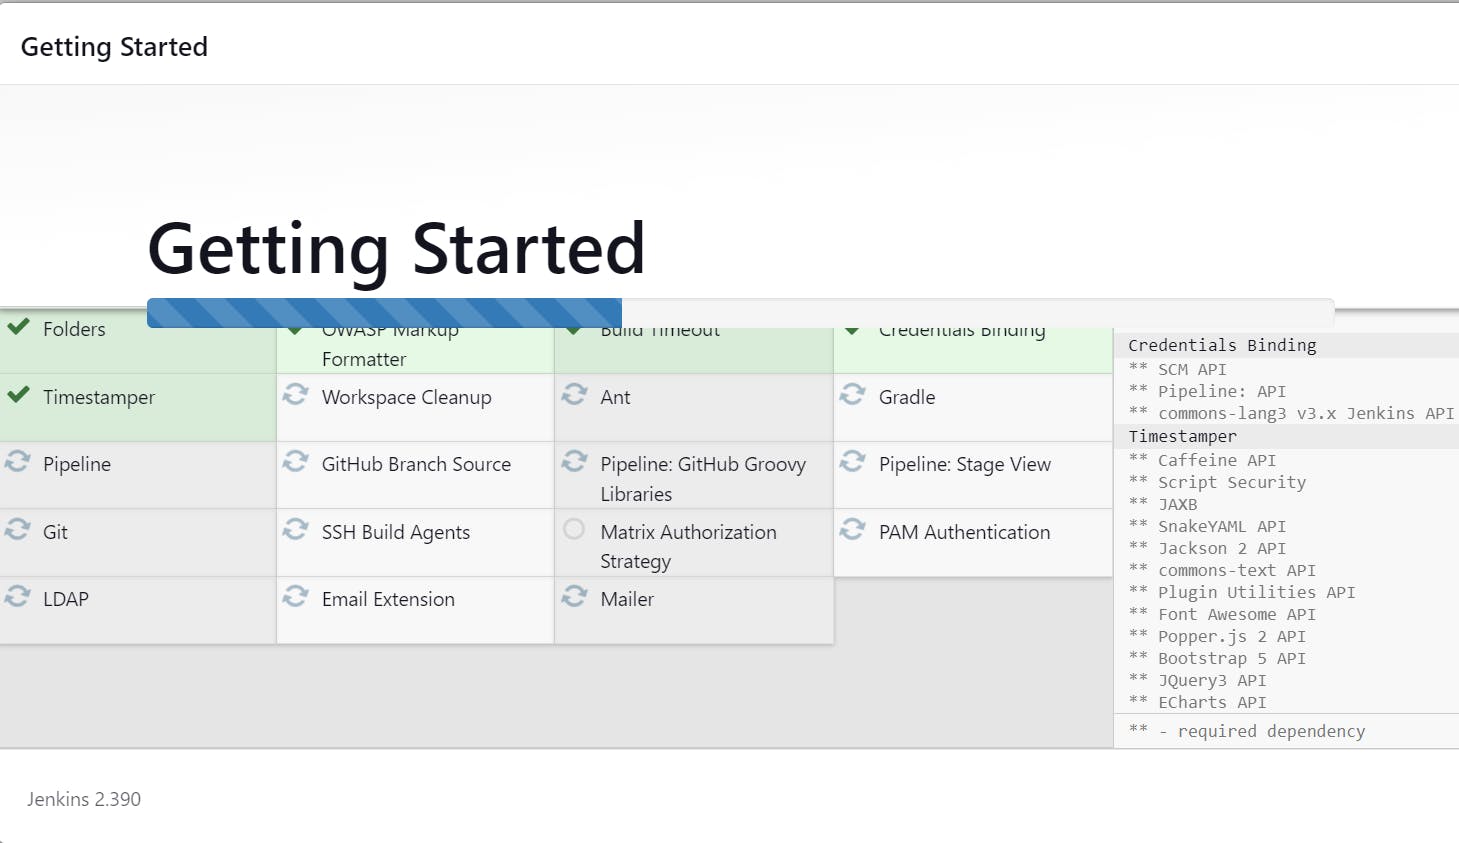
After this page click on continue and then it will ask for plugin installations, click on Install suggested plugins.
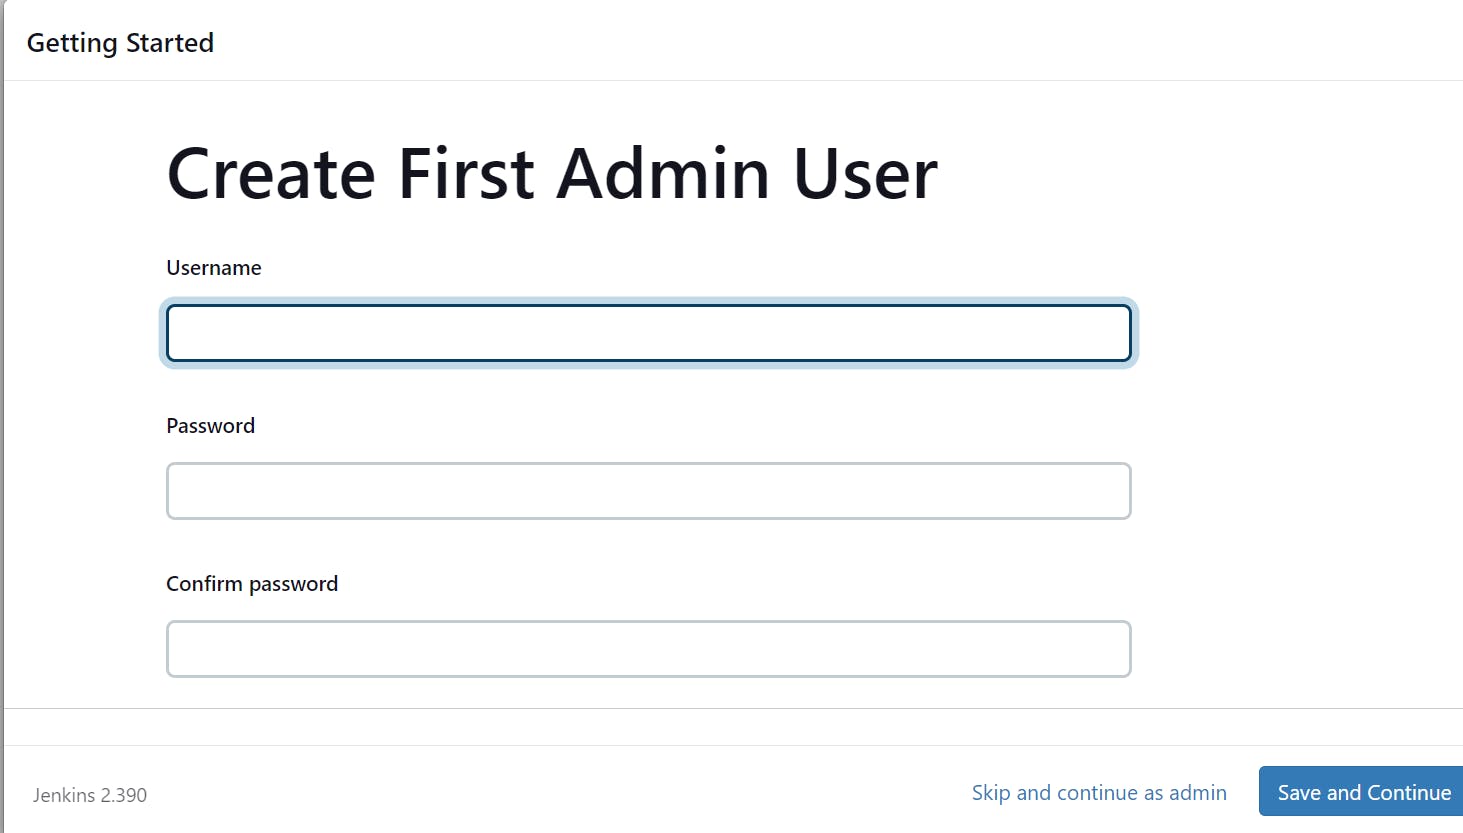
After this, you will see the page of Admin user then do the save and finish and at last you will get "Start Using Jenkins".
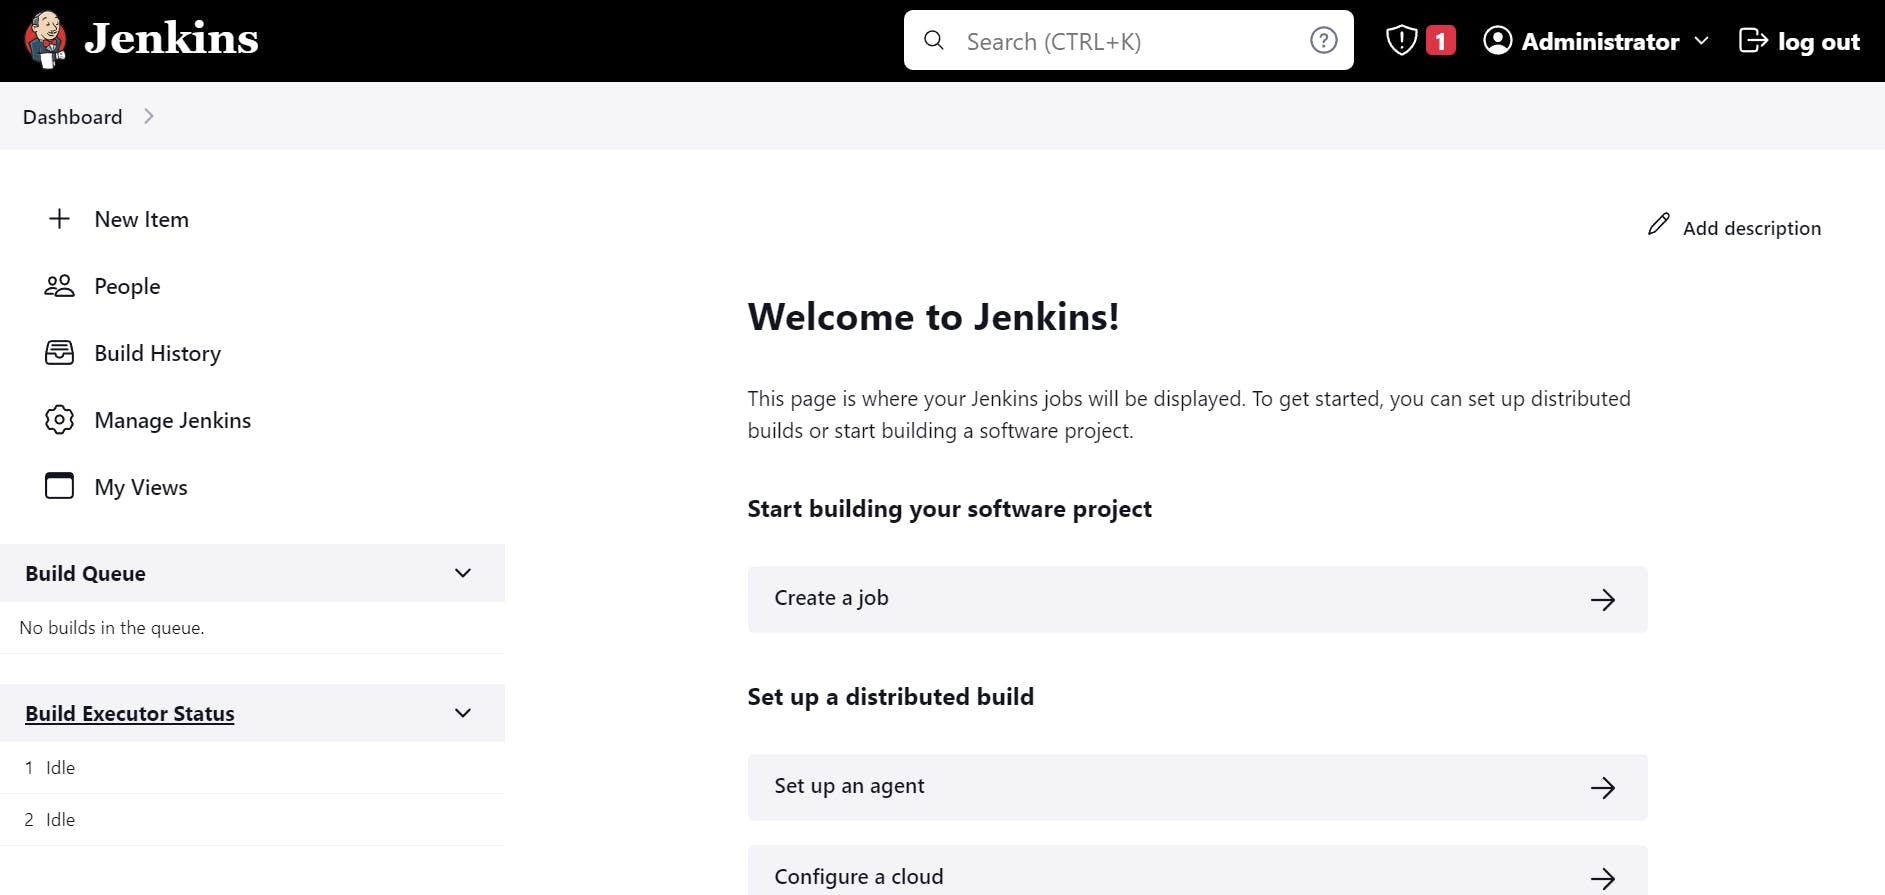
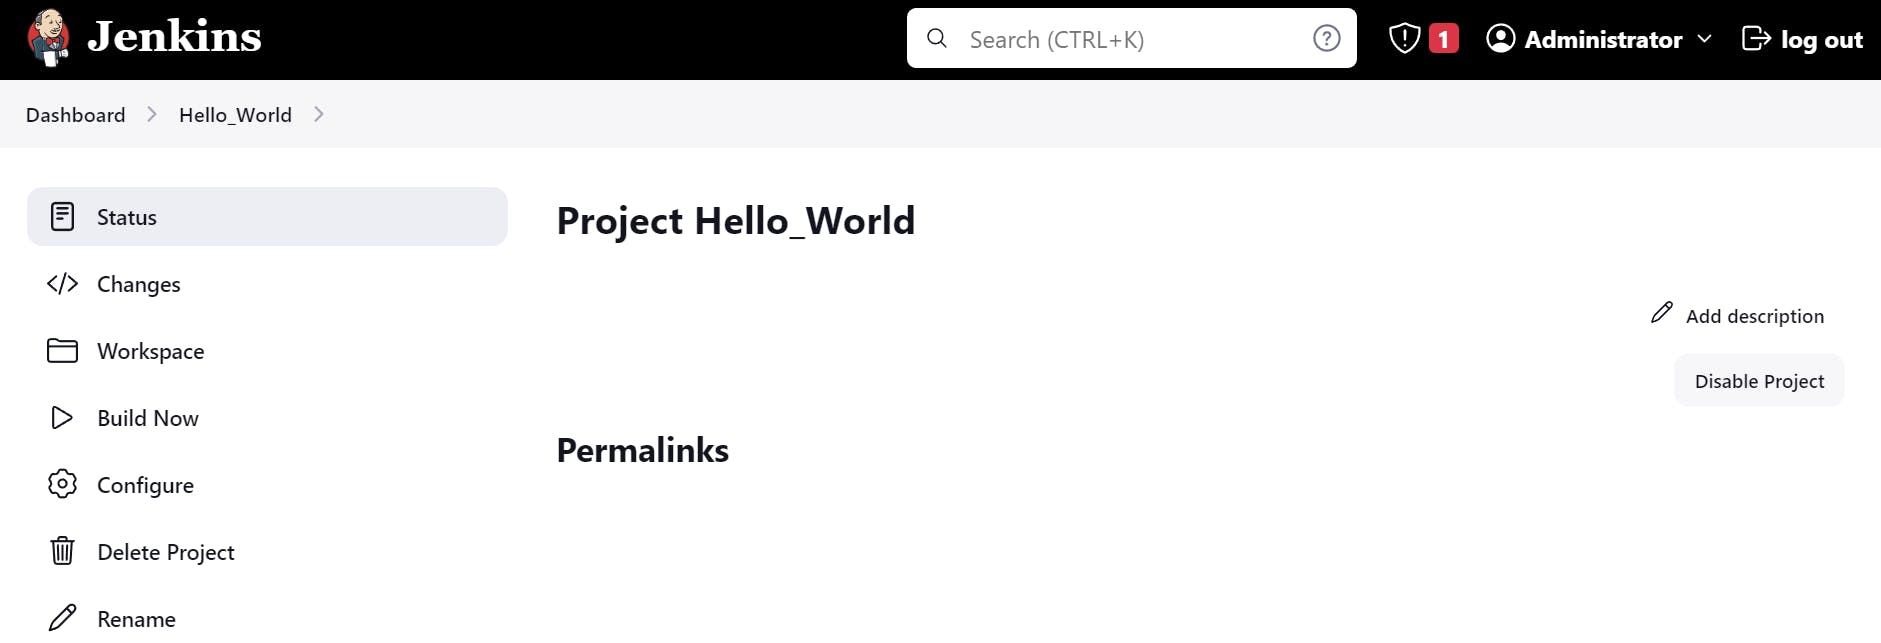
Now after clicking on Start using Jenkins you"ll get the Jenkins Dashboard page where you can see the New Item, Create a Job and Nodes, and many more. Don't worry we'll discuss it in the upcoming blogs.
So, I am going to Create a freestyle pipeline that will print print "Hello World!!"
So, the steps are :
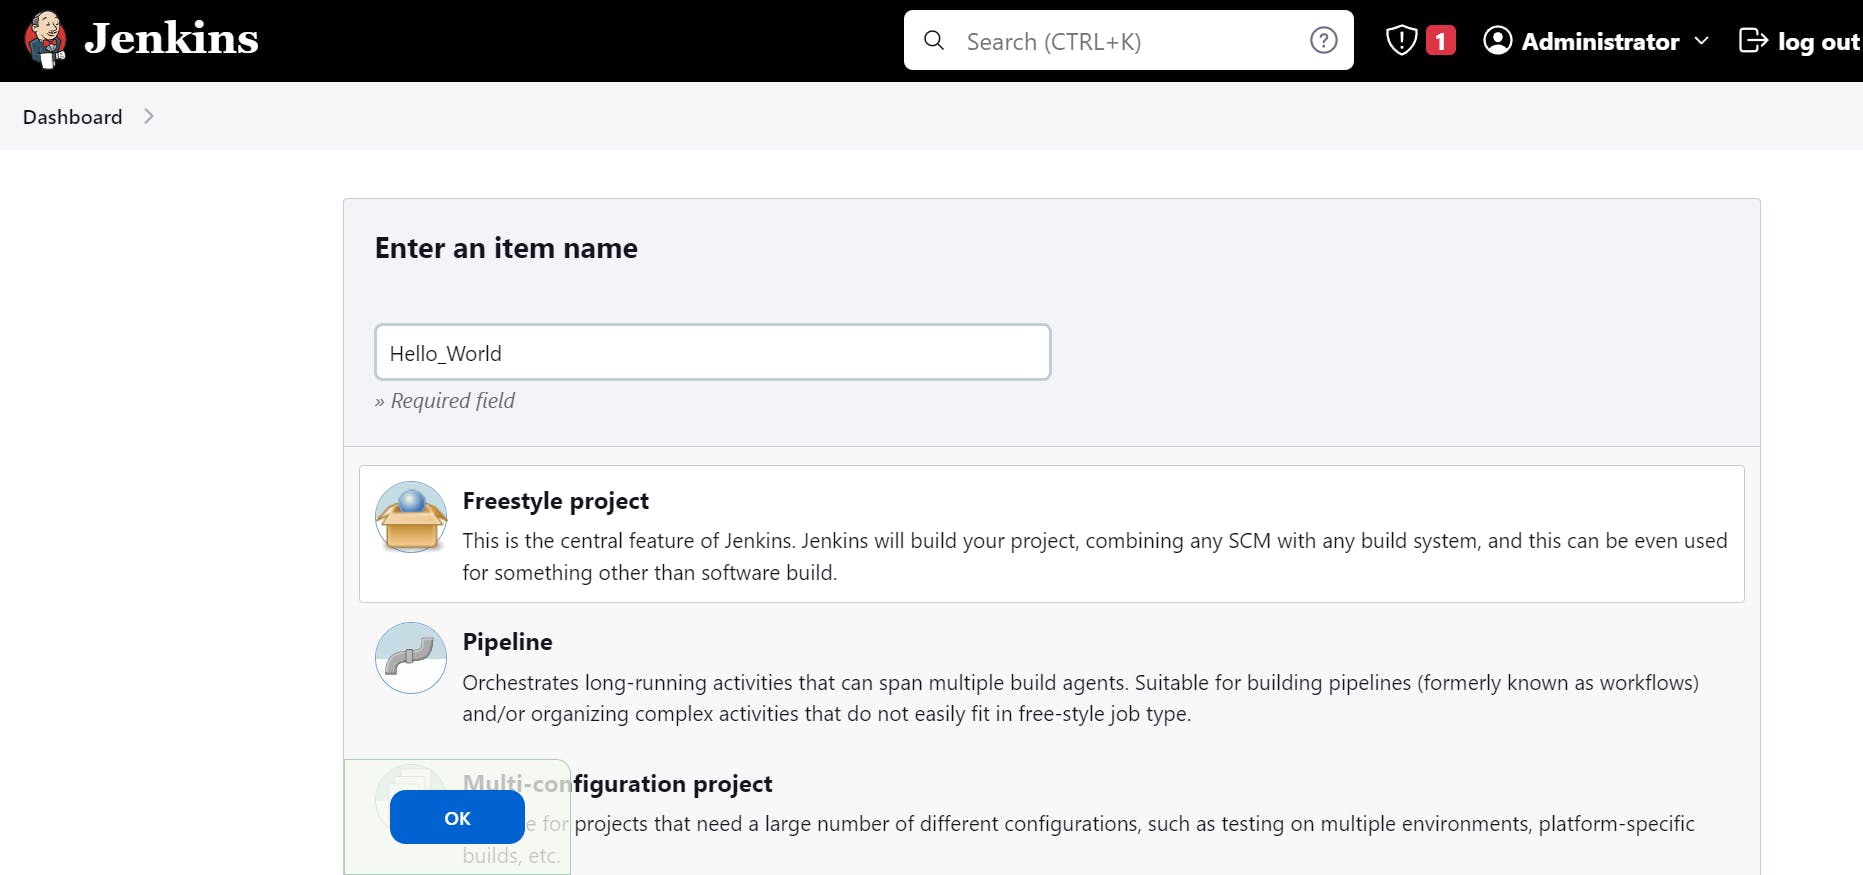
1) Click on Create a Job.
2) Then give the Item-Name "Hello-World" then click on Freestyle Project and then click on OK.
3) Then you'll get the configure the Job(Item-Name)page where you can write the scripts and do so many things. We'll discuss all these terms in the upcoming blogs.
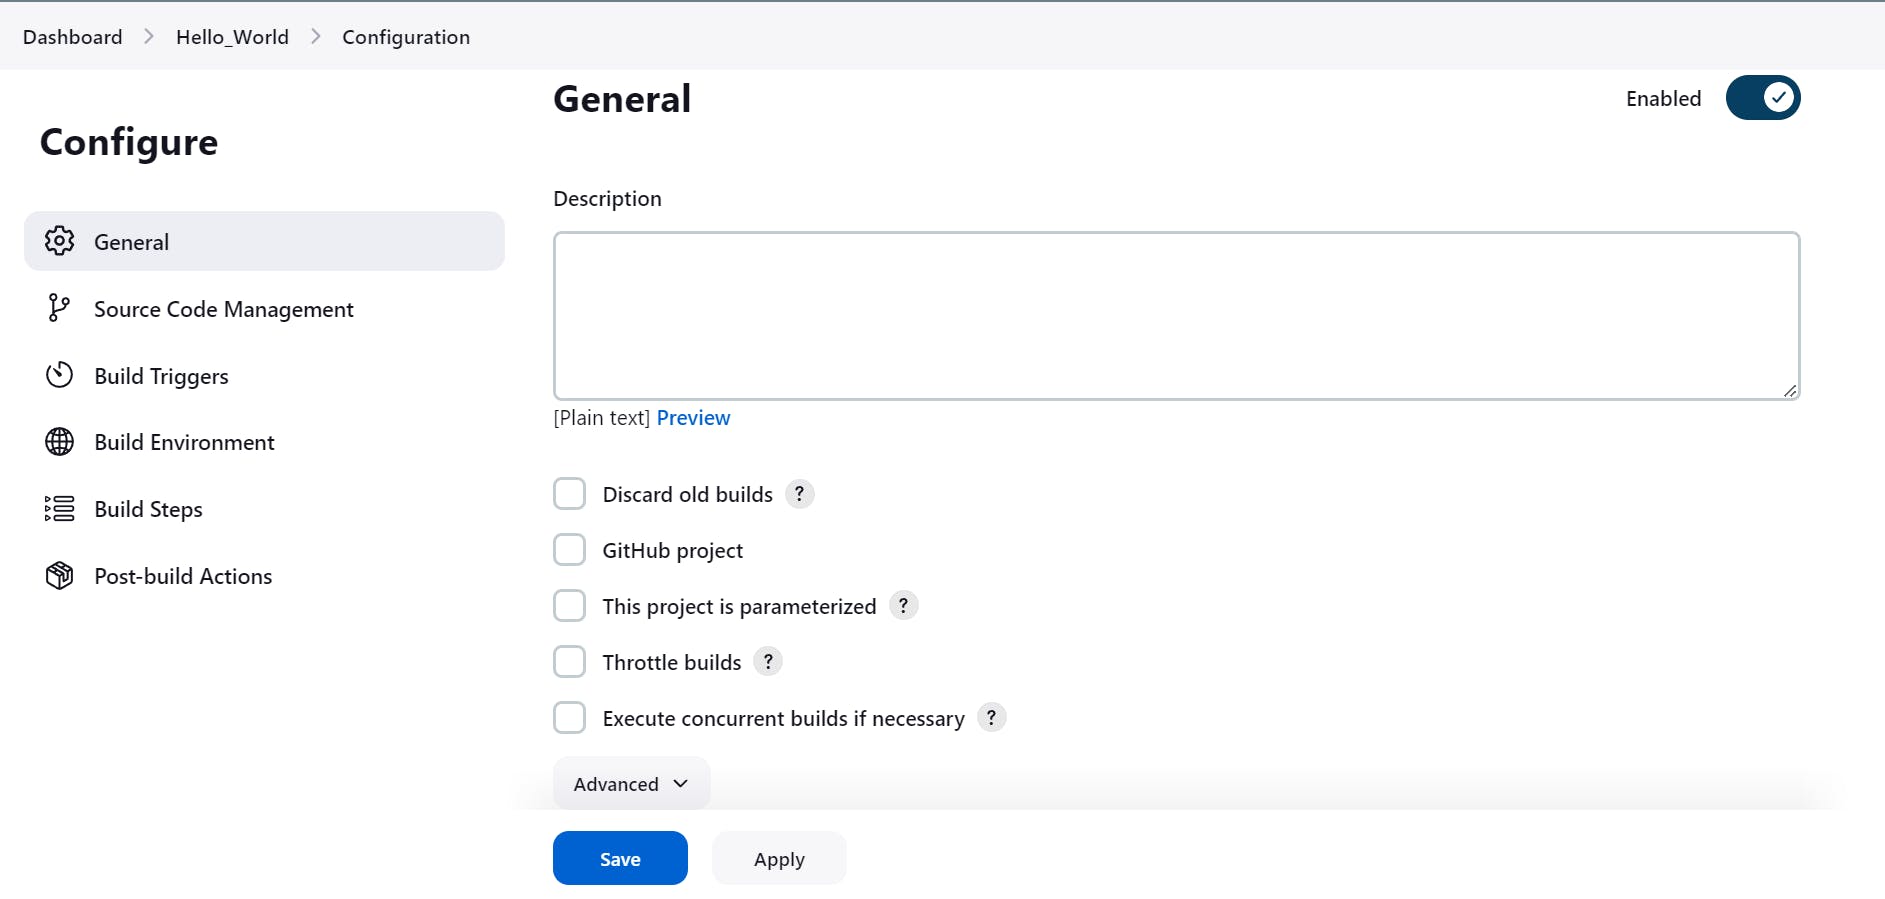
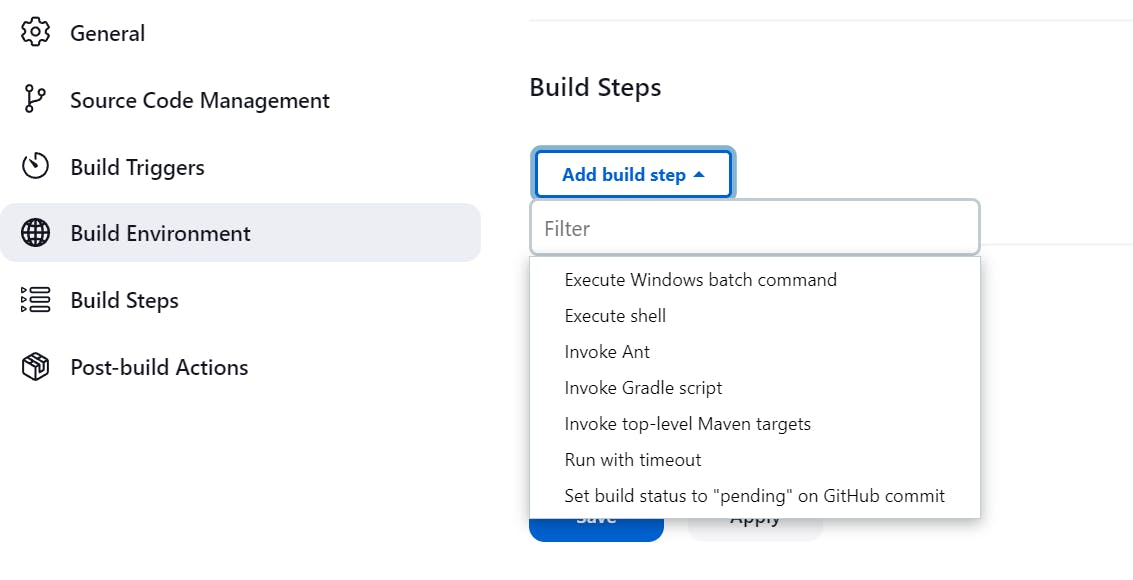
4) Select BUILD STEPS and click on ADD BUILD STEP then execute the shell.
5) Under EXECUTE THE SHELL write the command echo "Hello-World !!"
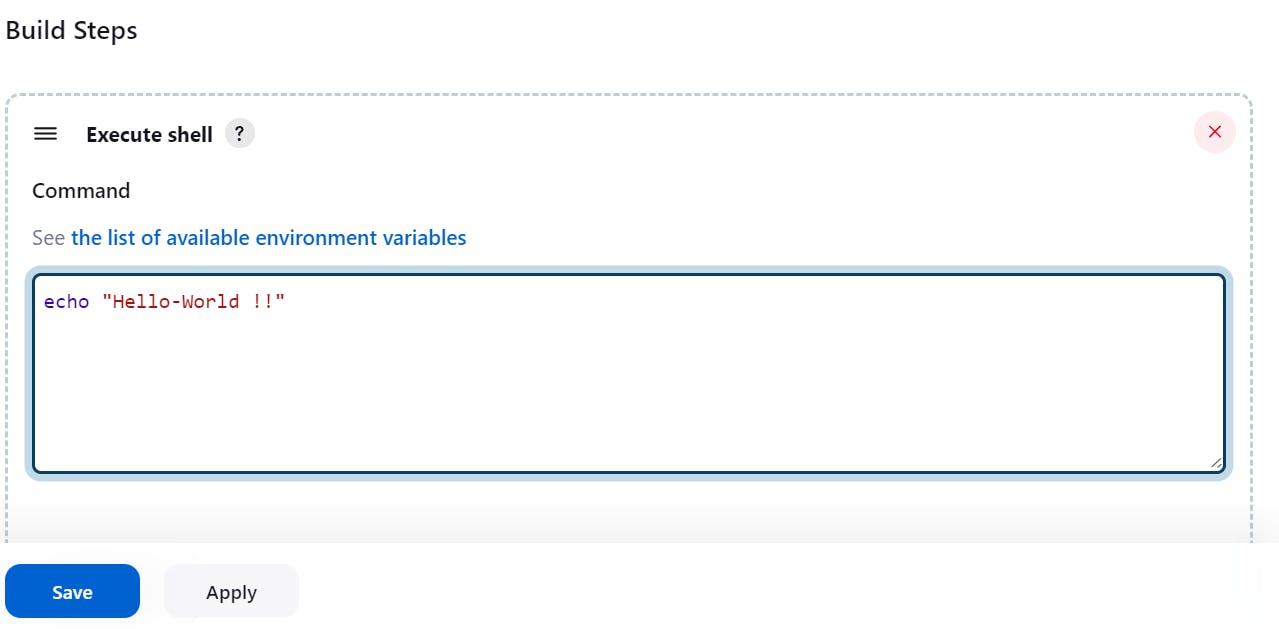
6) Then after writing it. Click on Apply and then click on Save, you'll get this page.
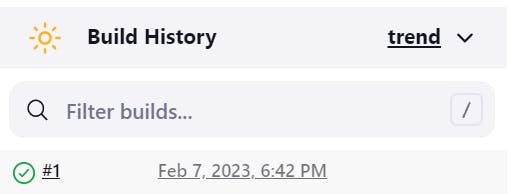
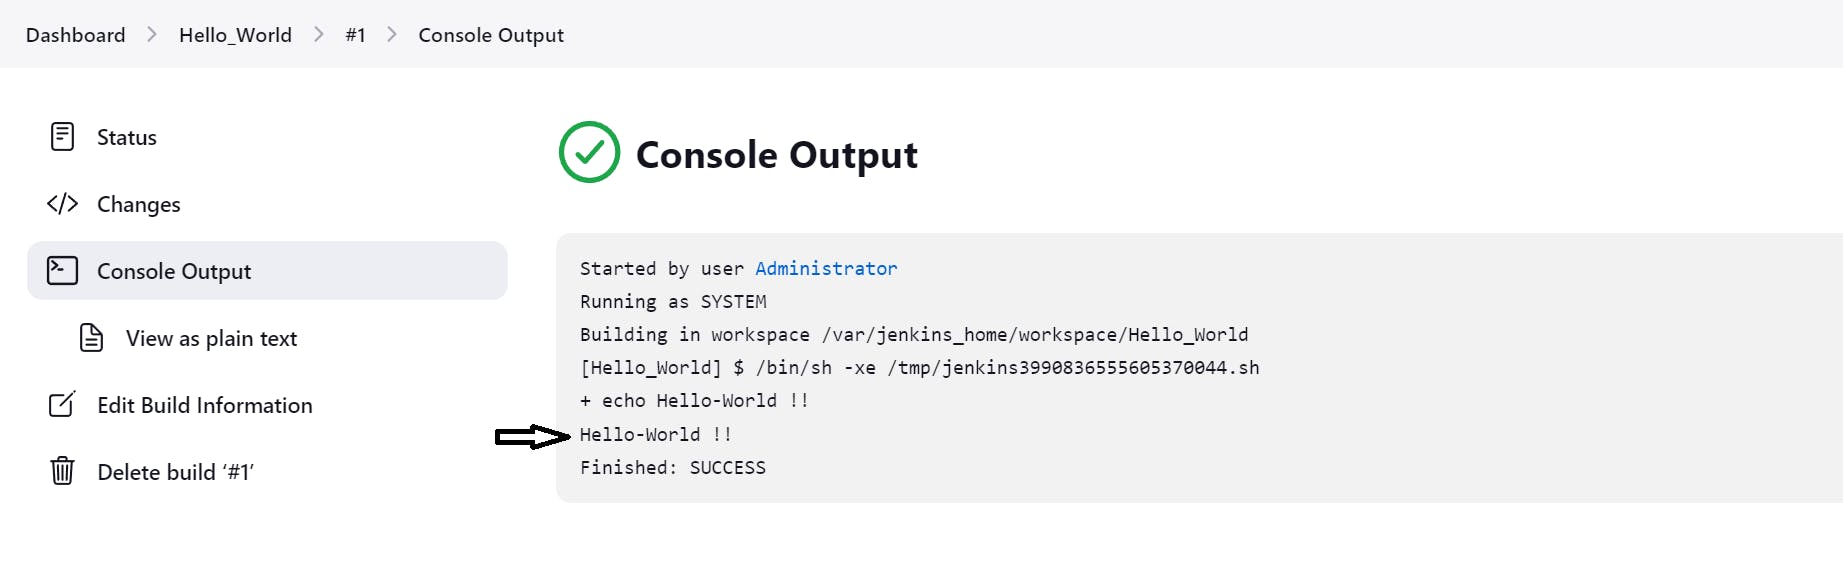
7) Now, click on Build Now to run the job. After clicking on Build Now you'll get the output of your job. To see the output of the job click on Tick Button.
Now, you can see the console of the output in which Hello-World is printed.
So, I hope this blog is helpful and you'll easily understand Jenkins and get started with it. So, Build the Job right now and print this simple line "Hello-World".
That's it for the Day 22 of the #90DaysofDevOps challenge. In the next blog, we will discuss Jenkins Freestyle Jobs and many more terms in more detail.
STAY TUNED !! for the upcoming Linux and DevOps Blogs !!
You can connect with me on Twitter (amitmau07) !!
THANK YOU :)
HAPPY LEARNING :)